
My model of the „Scooter” was built out of the Airfix AD3029 kit. This kit contains a new tooling of the “B” version of the aircraft. The kit parts look very good, the panel lines are recessed and not too heavy. The model has a logical division into parts, which, in turn, fit very well. Among the most interesting features of this kit are extended wing leading edge slats, realistic, deep engine intake and exhaust, and well represented vortex generators (rows of small vanes) on the top surface of the wing. Although the model would probably look very good out of the box, I decided to put some extras on it. The kit’s cockpit, ejection seat and the front wheel bay were replaced with resin parts coming from Pavla C 72110 kit. The fuel tanks were replaced with ones from Freightdog 72024 kit and the bomb load in form of six Mk. 82 “Snakeyes” on a MER rack came from the KORA DSM 72 014 kit. I also decided to use markings from the Xtradecal X72151 sheet.
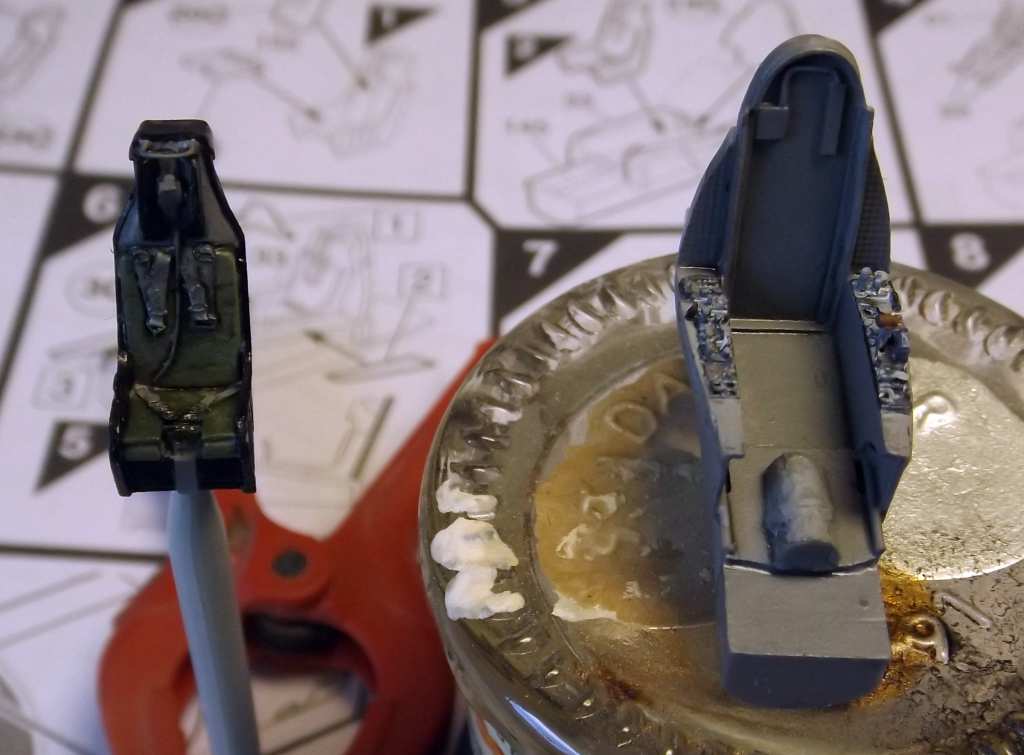
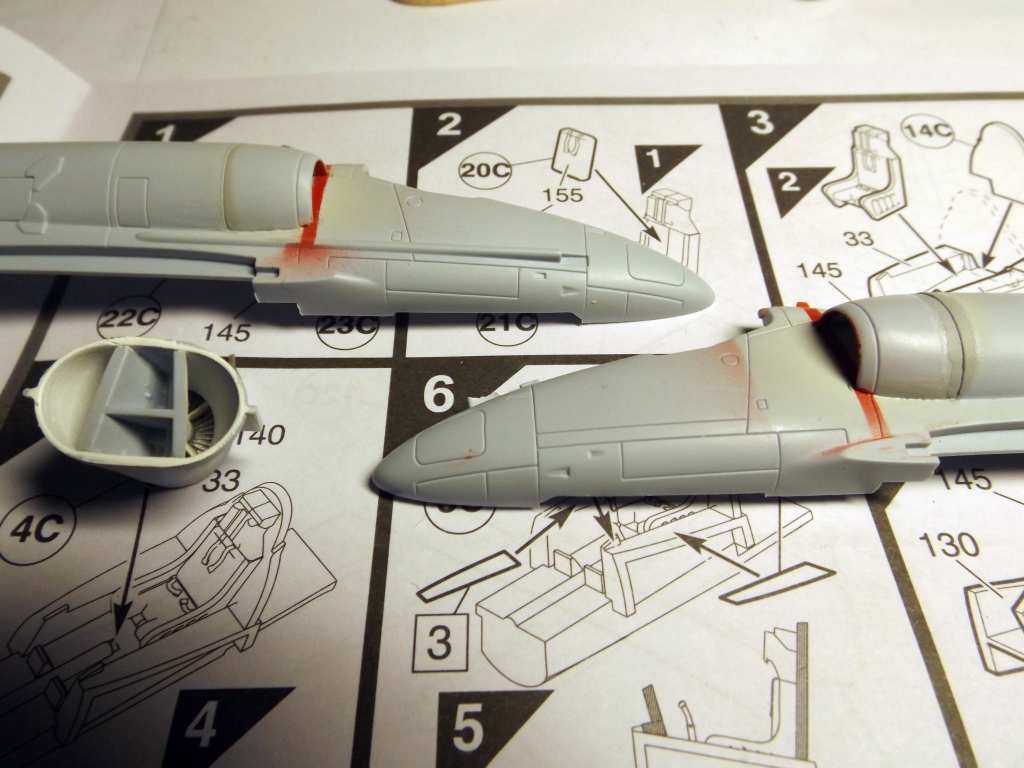
I started the build with the cockpit. On the photo below you can see the hull halves and the comparison of the kit’s and the resin parts:

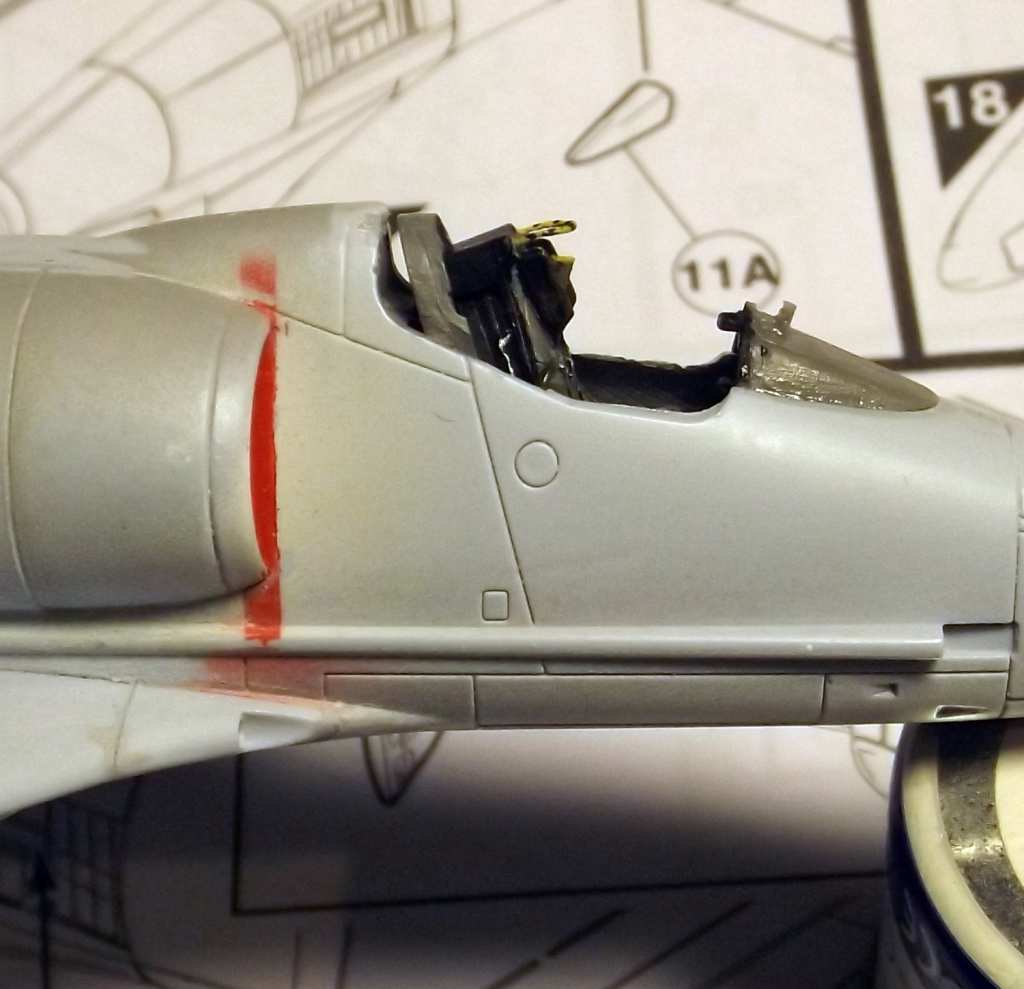
I went on to paint the cockpit and the ejection seat:
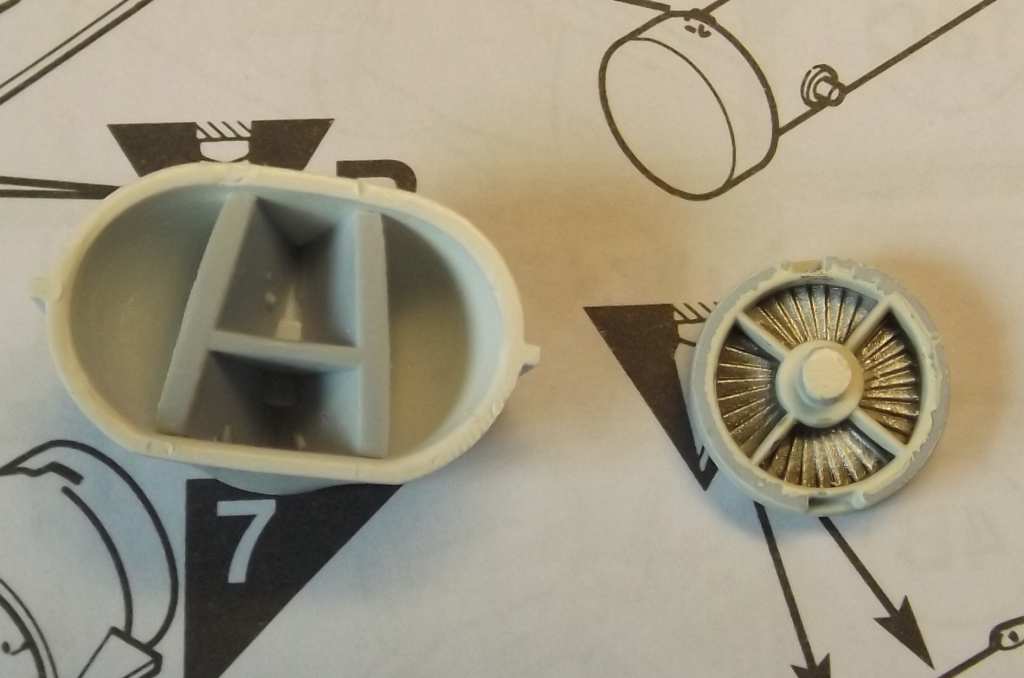
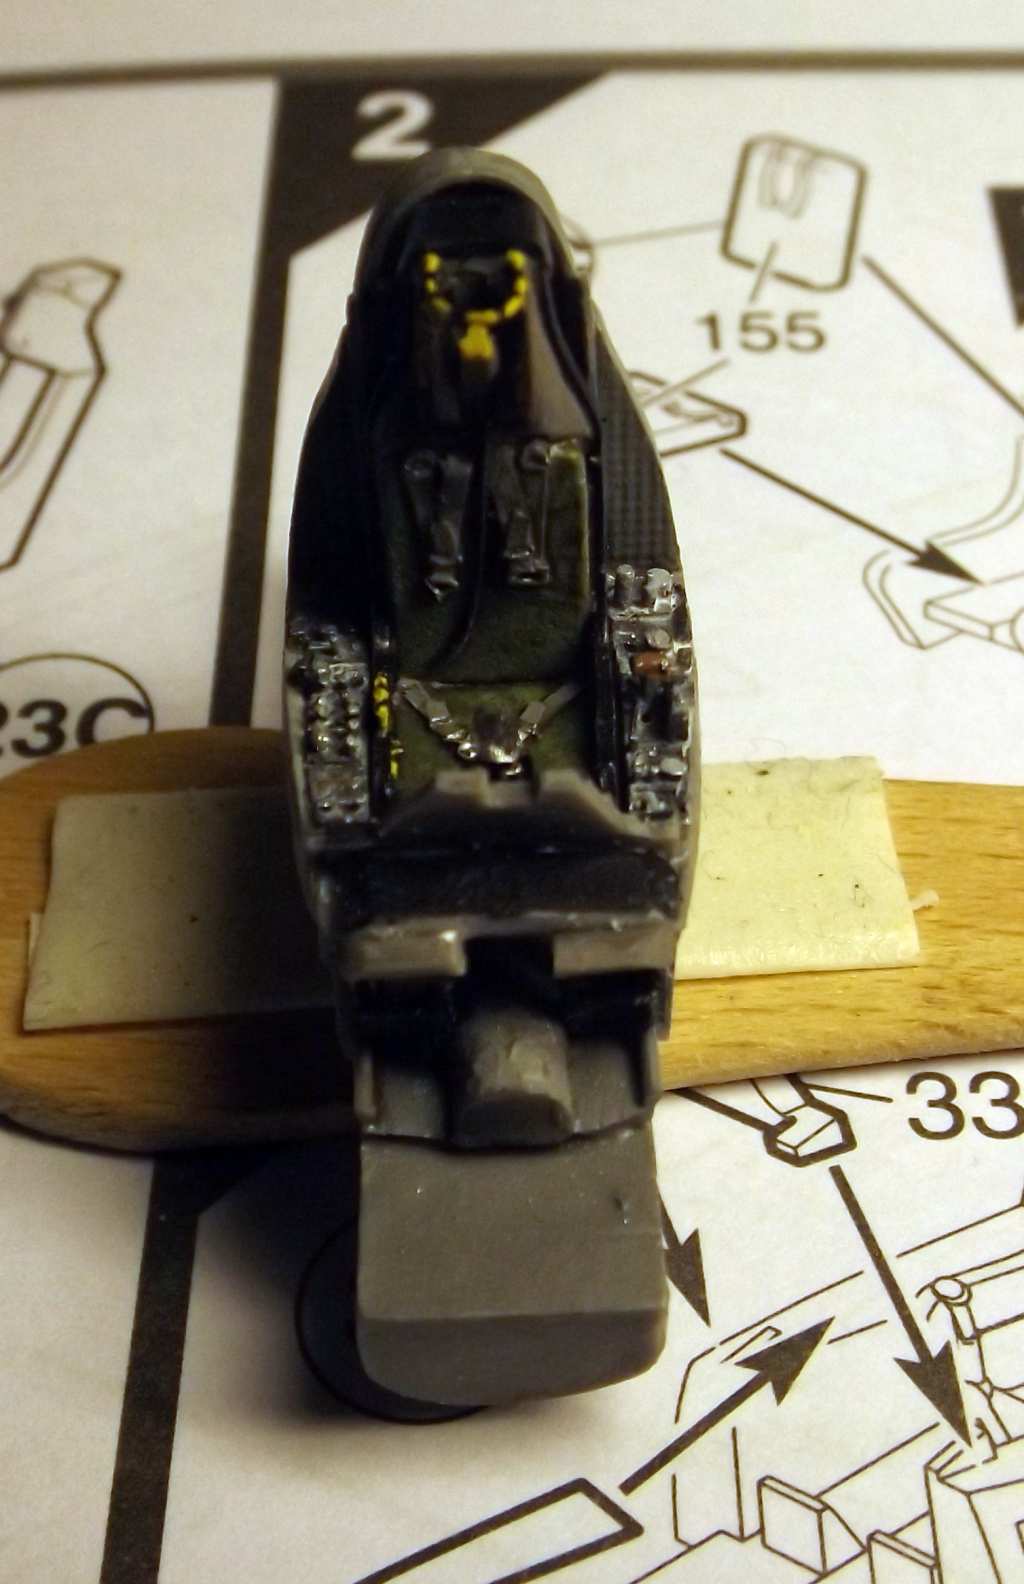
Unfortunately, the seat didn’t take the transport well and I had to re-create details like the ejection handle using thin copper wire. I also started working on the engine air intakes. I also painted the engine’s compressor – it will be visible through the intakes:
I painted the front wheel bay – to do this I used the white Tamiya primer and on top of that I put a coat of Humbrol 22, followed (when fully dry) by a black wash and detail painting.

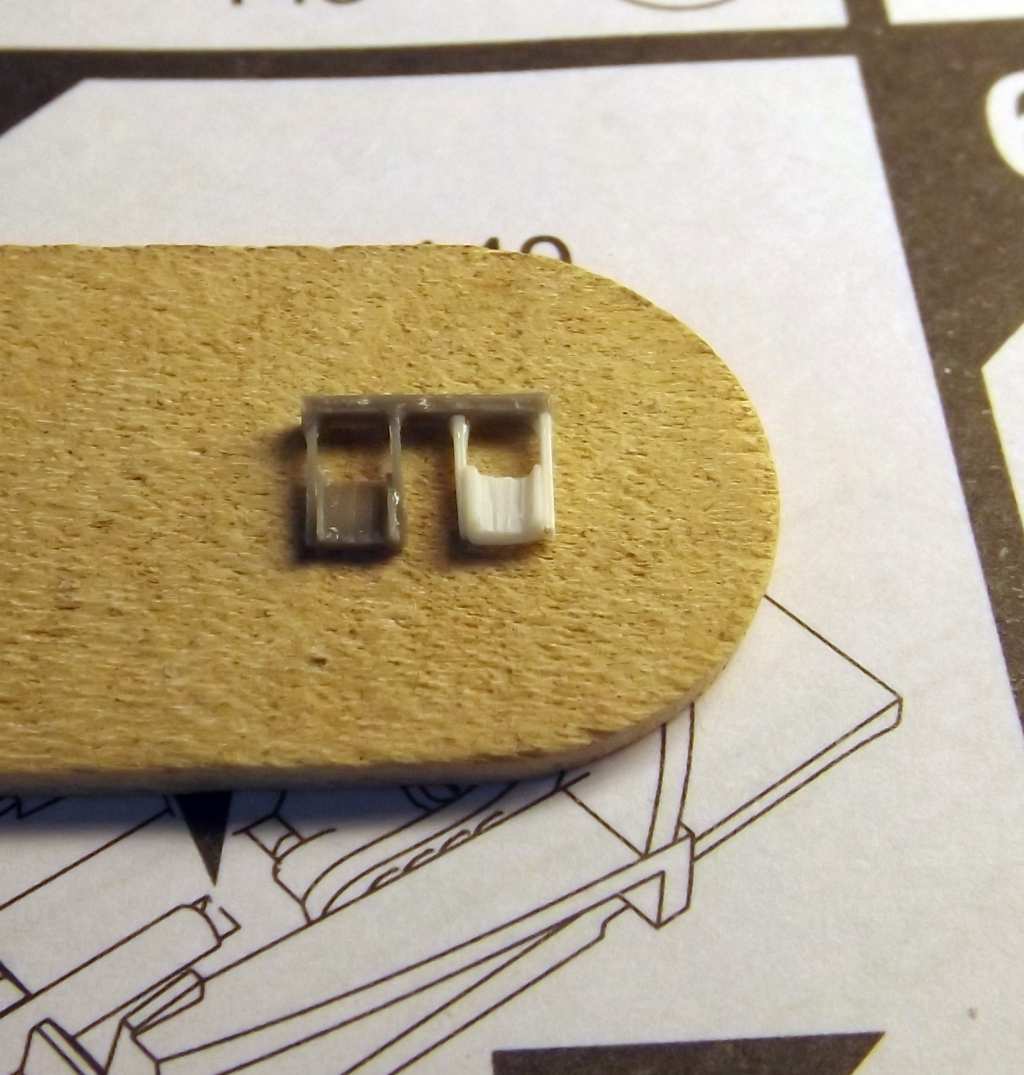
As I mentioned, some resin parts from the Pavla kit didn’t survive transport – for example I had to scratchbuild one half of the rudder pedals out of styrene sheet:
At that point the painting of the cockpit and the ejection seat was almost done:

The engine air intakes were also lmost done at this stage – their interiors were spray painted with white Tamiya primer, red stripes were also painted where appropriate using Humbrol 19:
At this point closing-up of the hull could be considered – the builder has to remember to put the appropriate weight in the nose of the aircraft, so that, when finished, the model would sit on all three wheels. After closing up the hull looked like on the photo below:
I usually try to delay the installation of the canopy to minimize the risk of damaging it, but putting it on too late also can cause trouble. Luckily, here I accepted the challenge on time and it turned out, that the ejection seat is too high and the canopy couldn’t be closed:
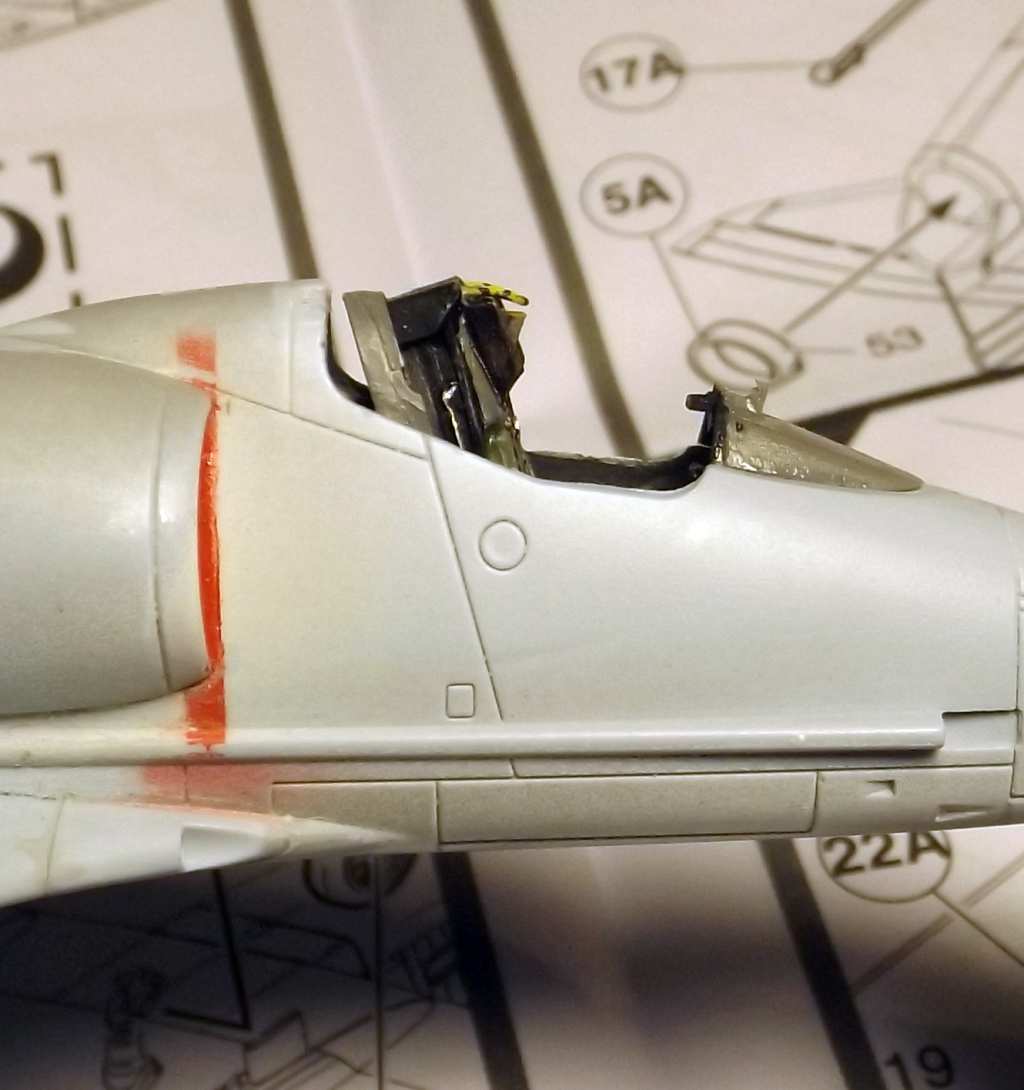
I managed to pry the seat out in one piece, then I cut out a slice at the base of the seat – slightly more than 1mm – that solved the problem of the canopy fit:
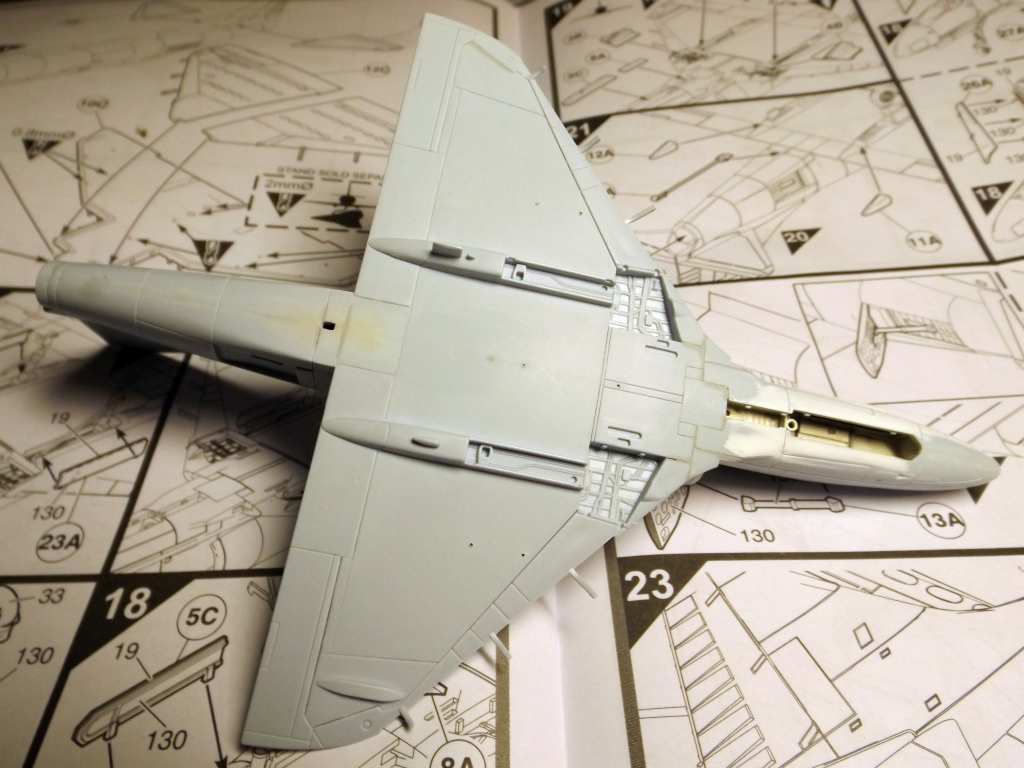
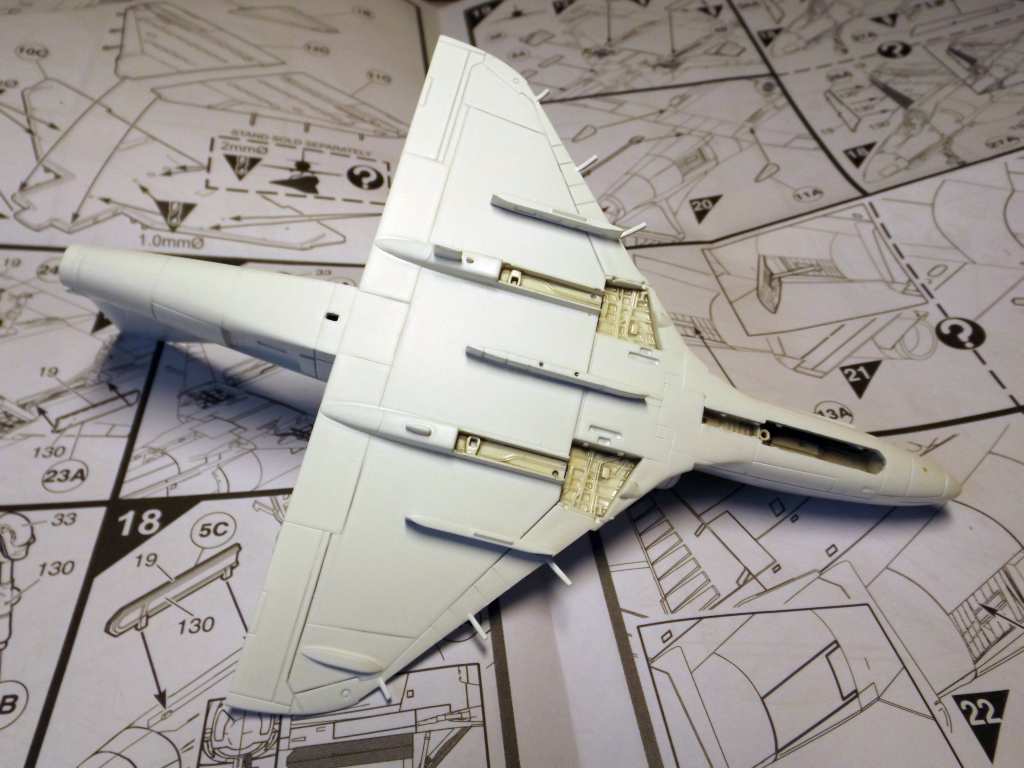
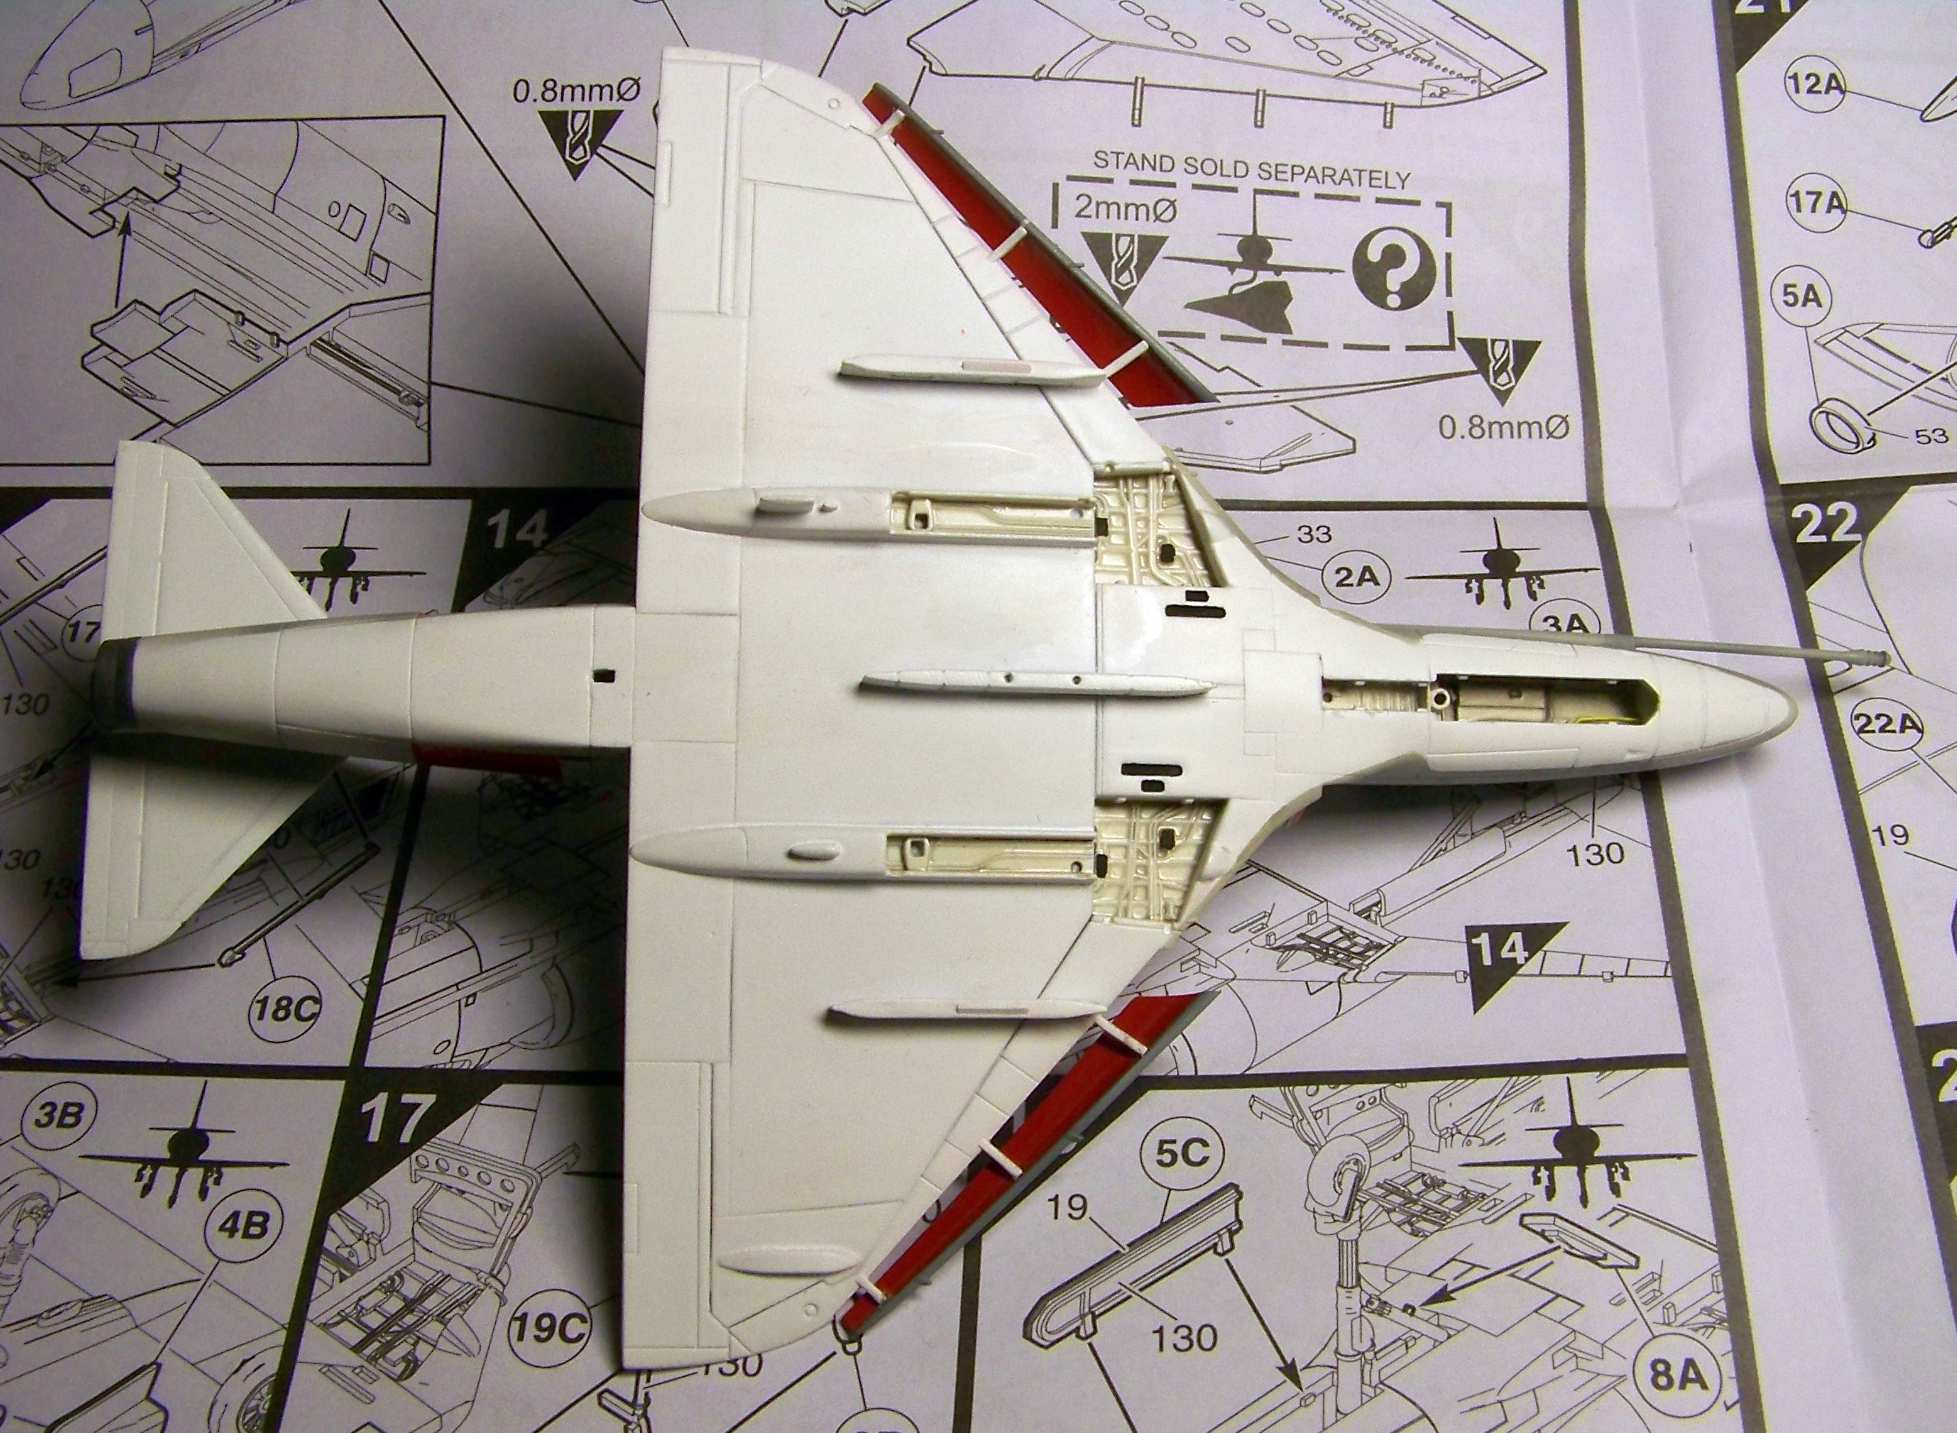
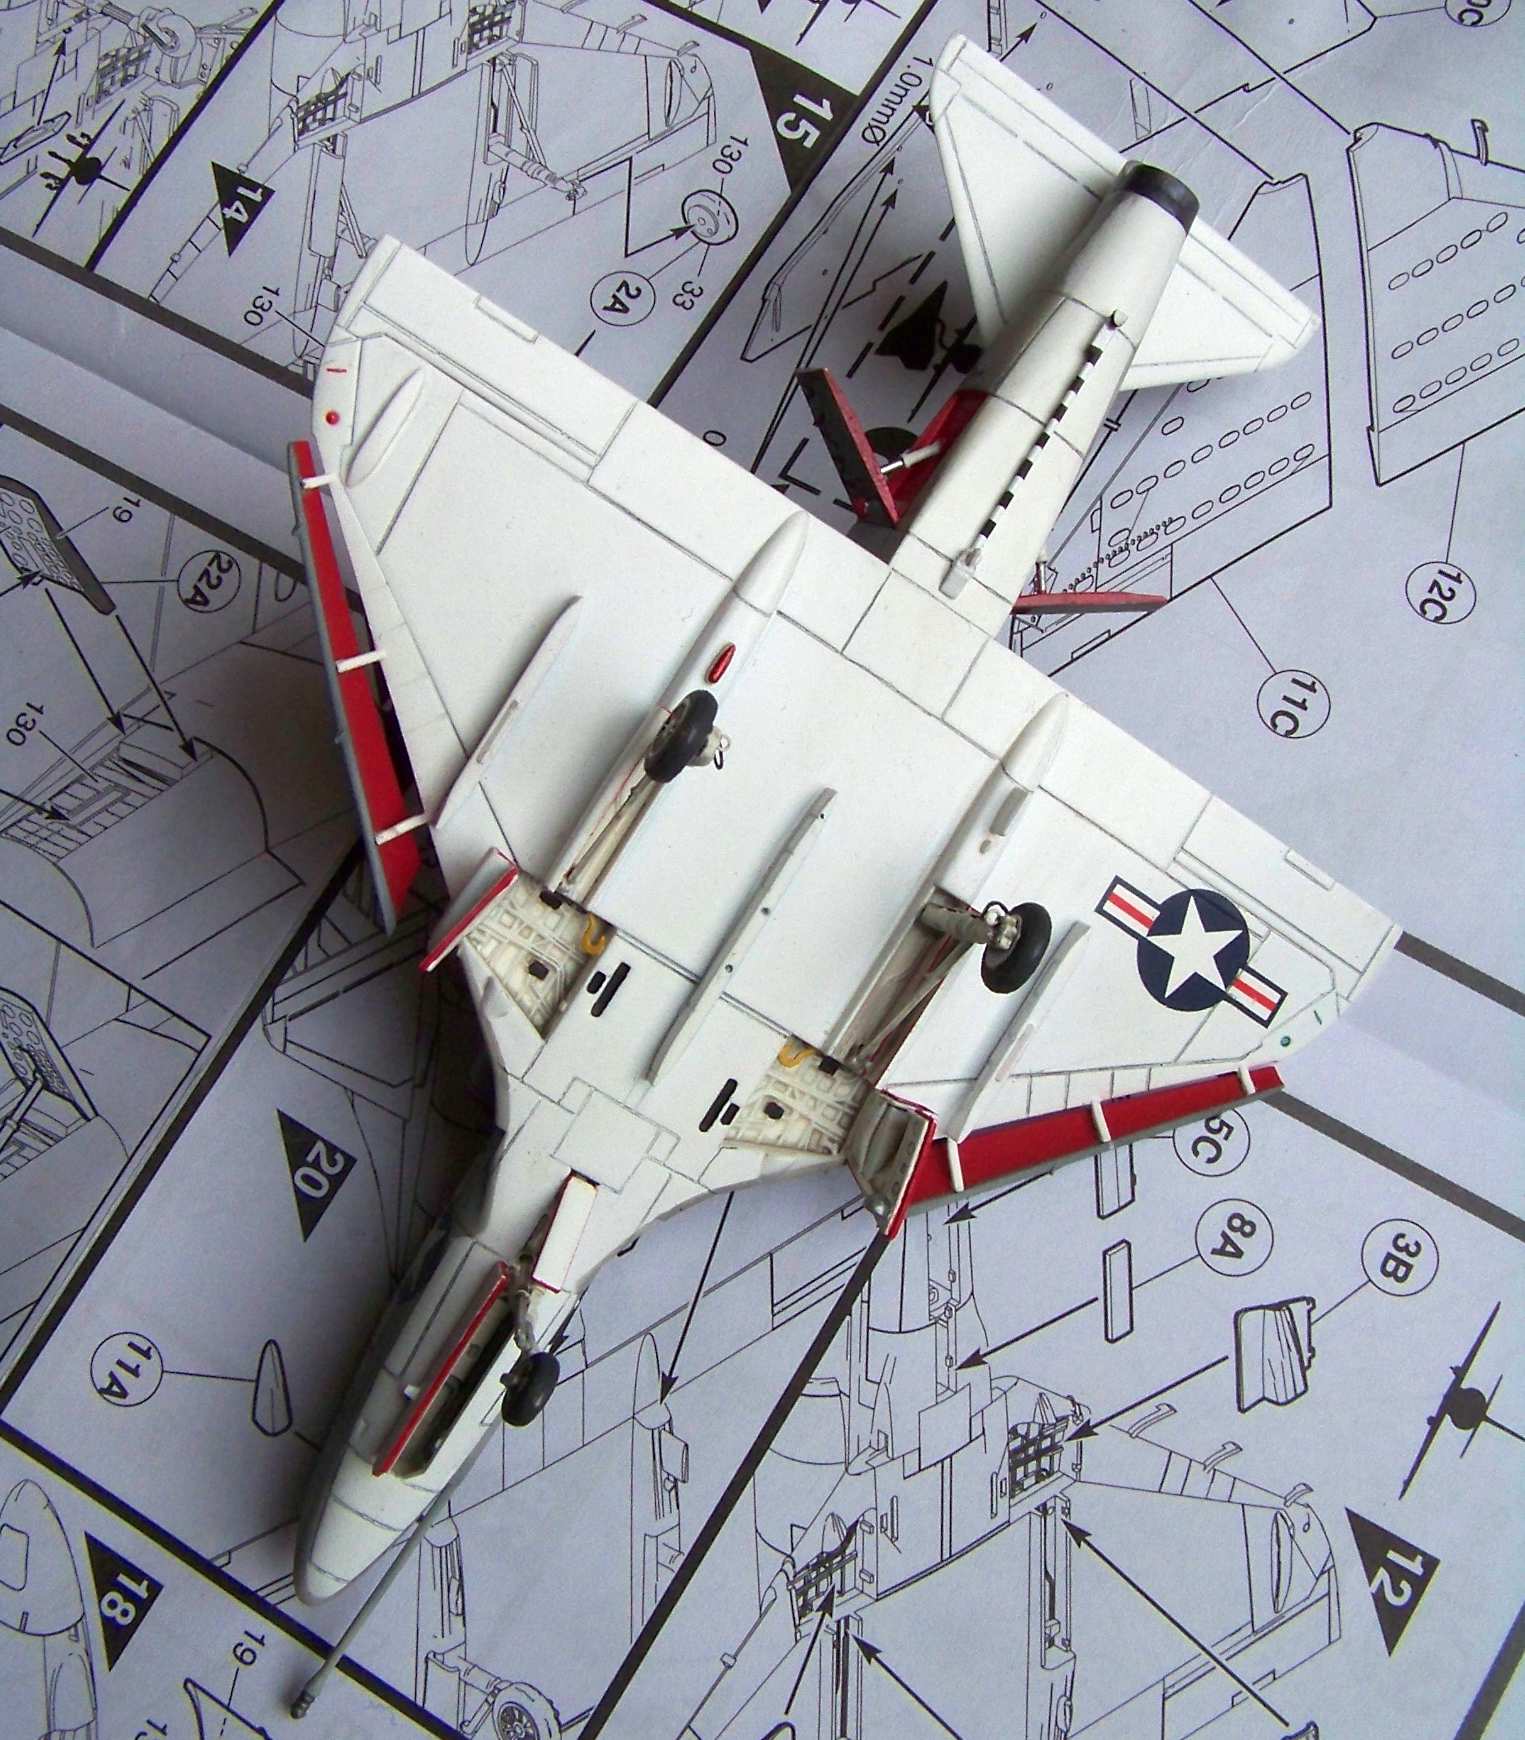
I installed the canopy, masked it with Tamiya tape and Maskol, then I painted this area black, to get the color of the frame insides. Next I started spraying the lower surfaces with white Tamiya primer. I painted the insides of the landing gear bays with Humbrol 22 hoping for color variation – and that worked:
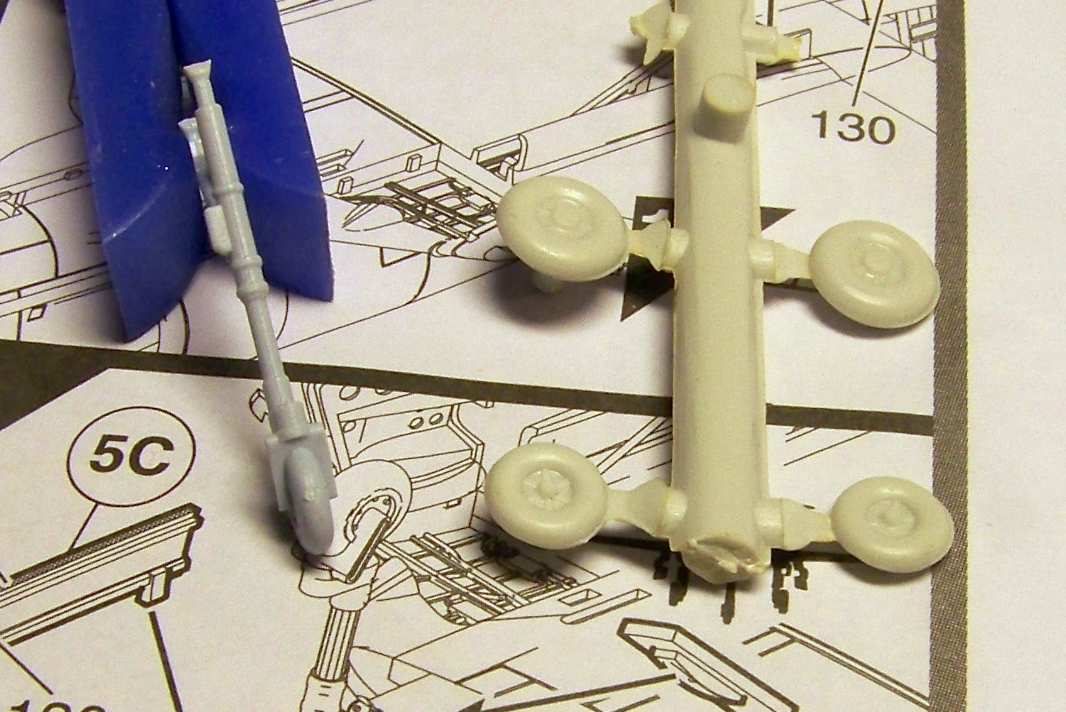
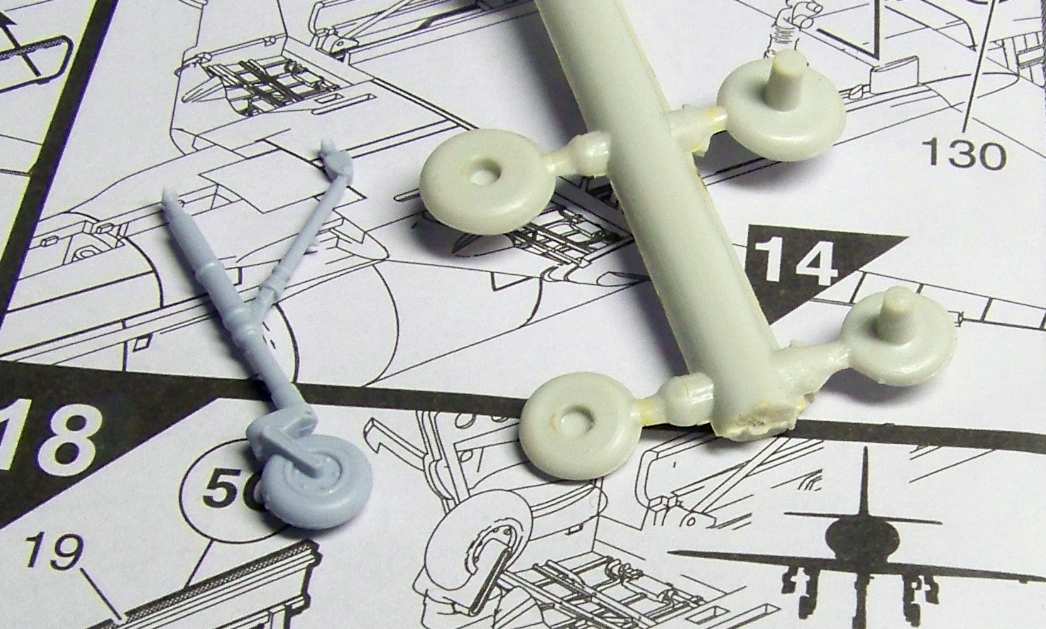
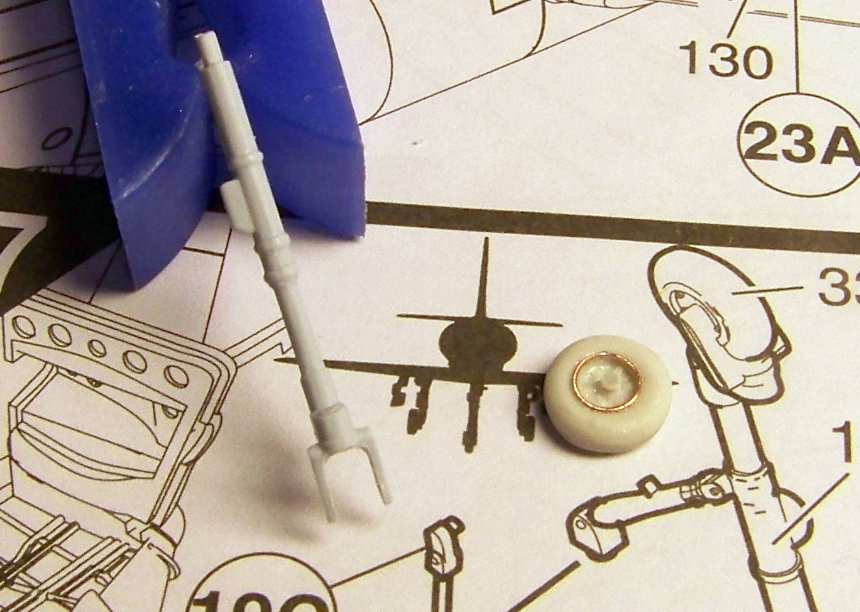
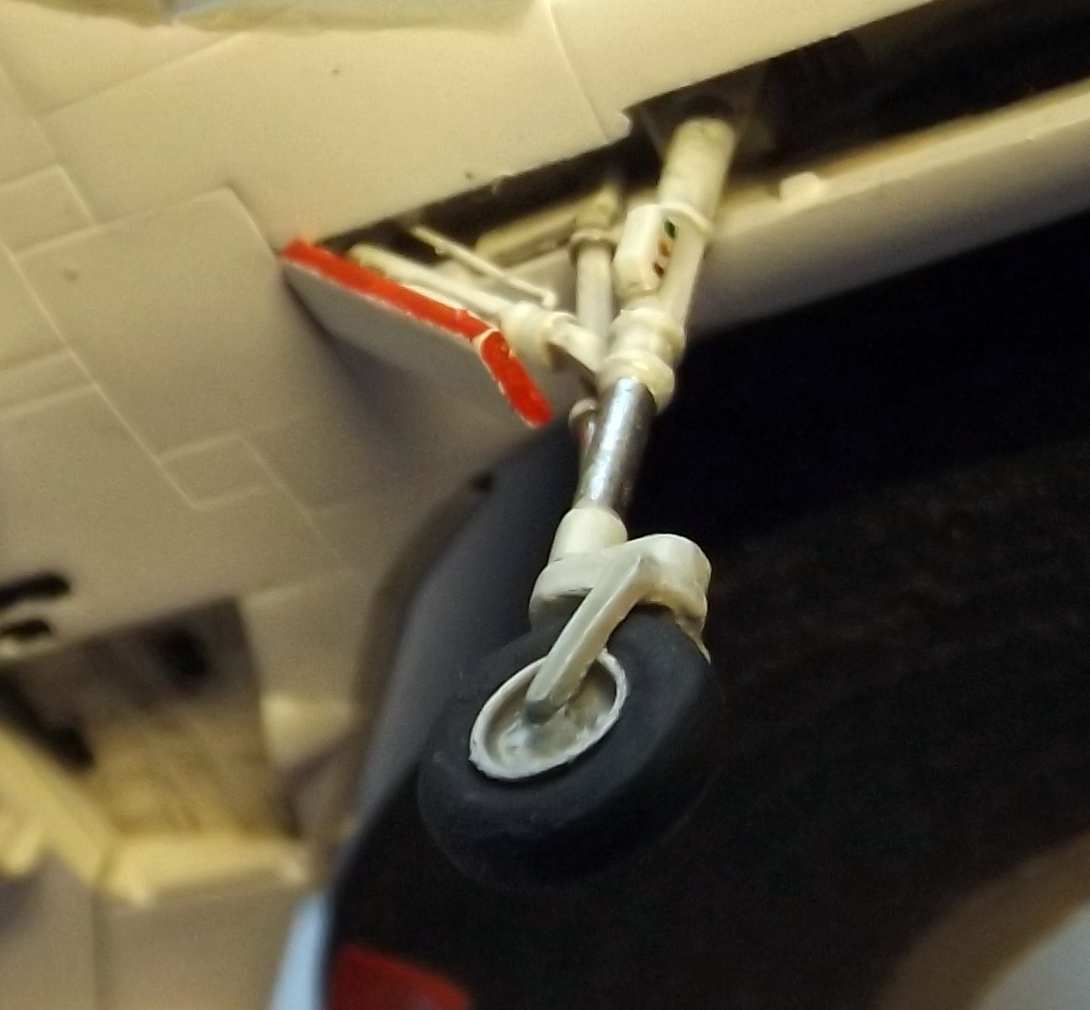
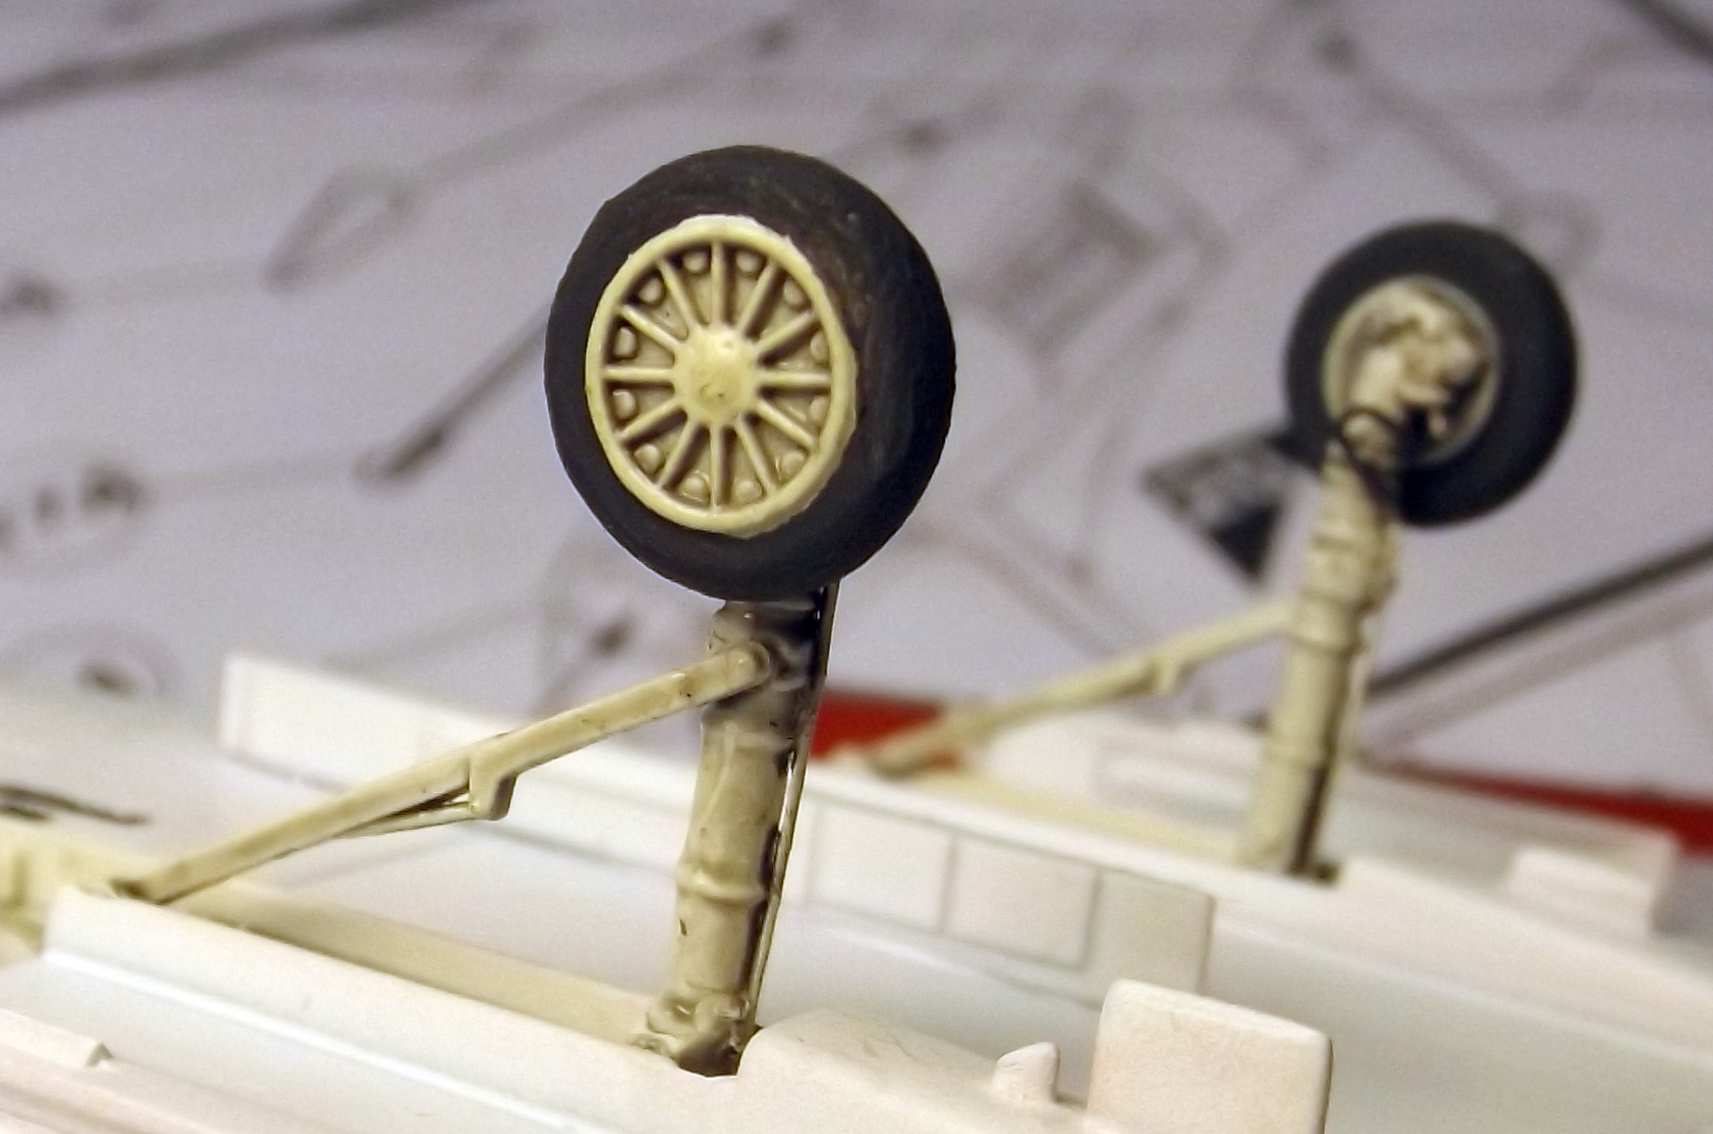
I started working on the front landing gear – I especially wanted to improve the front wheel. In the kit it is molded one-piece with the strut, like in most Skyhawk model in this scale. I decided to change this – I cut out the wheel from the fork and out of spares laying for year in my modeling “scrap” I fabricated a new wheel that I put back in the fork:
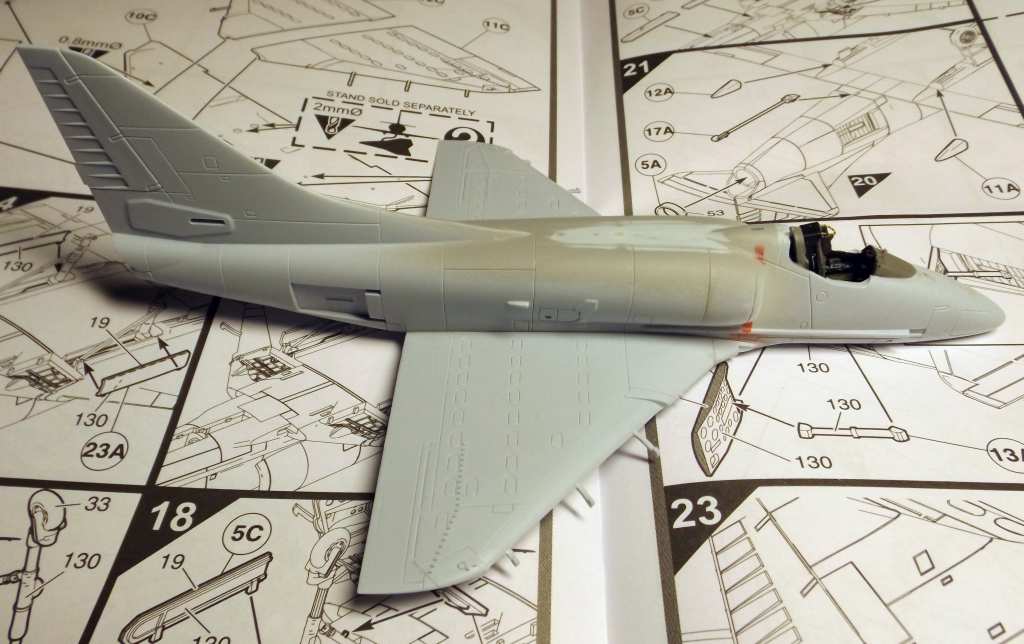
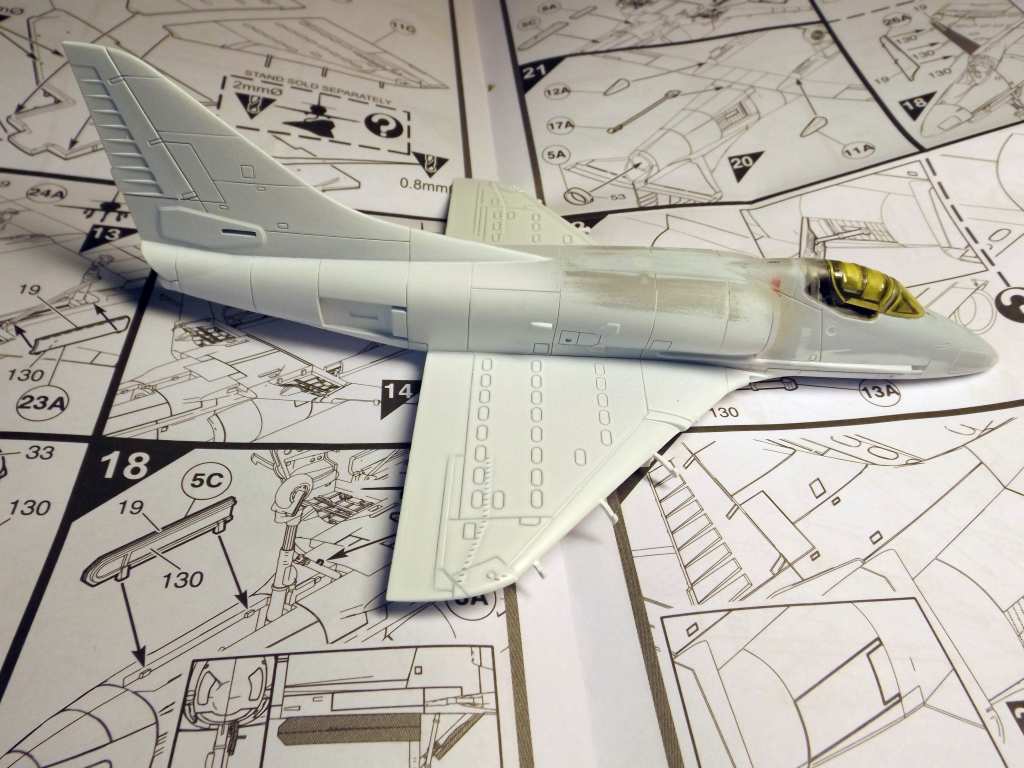
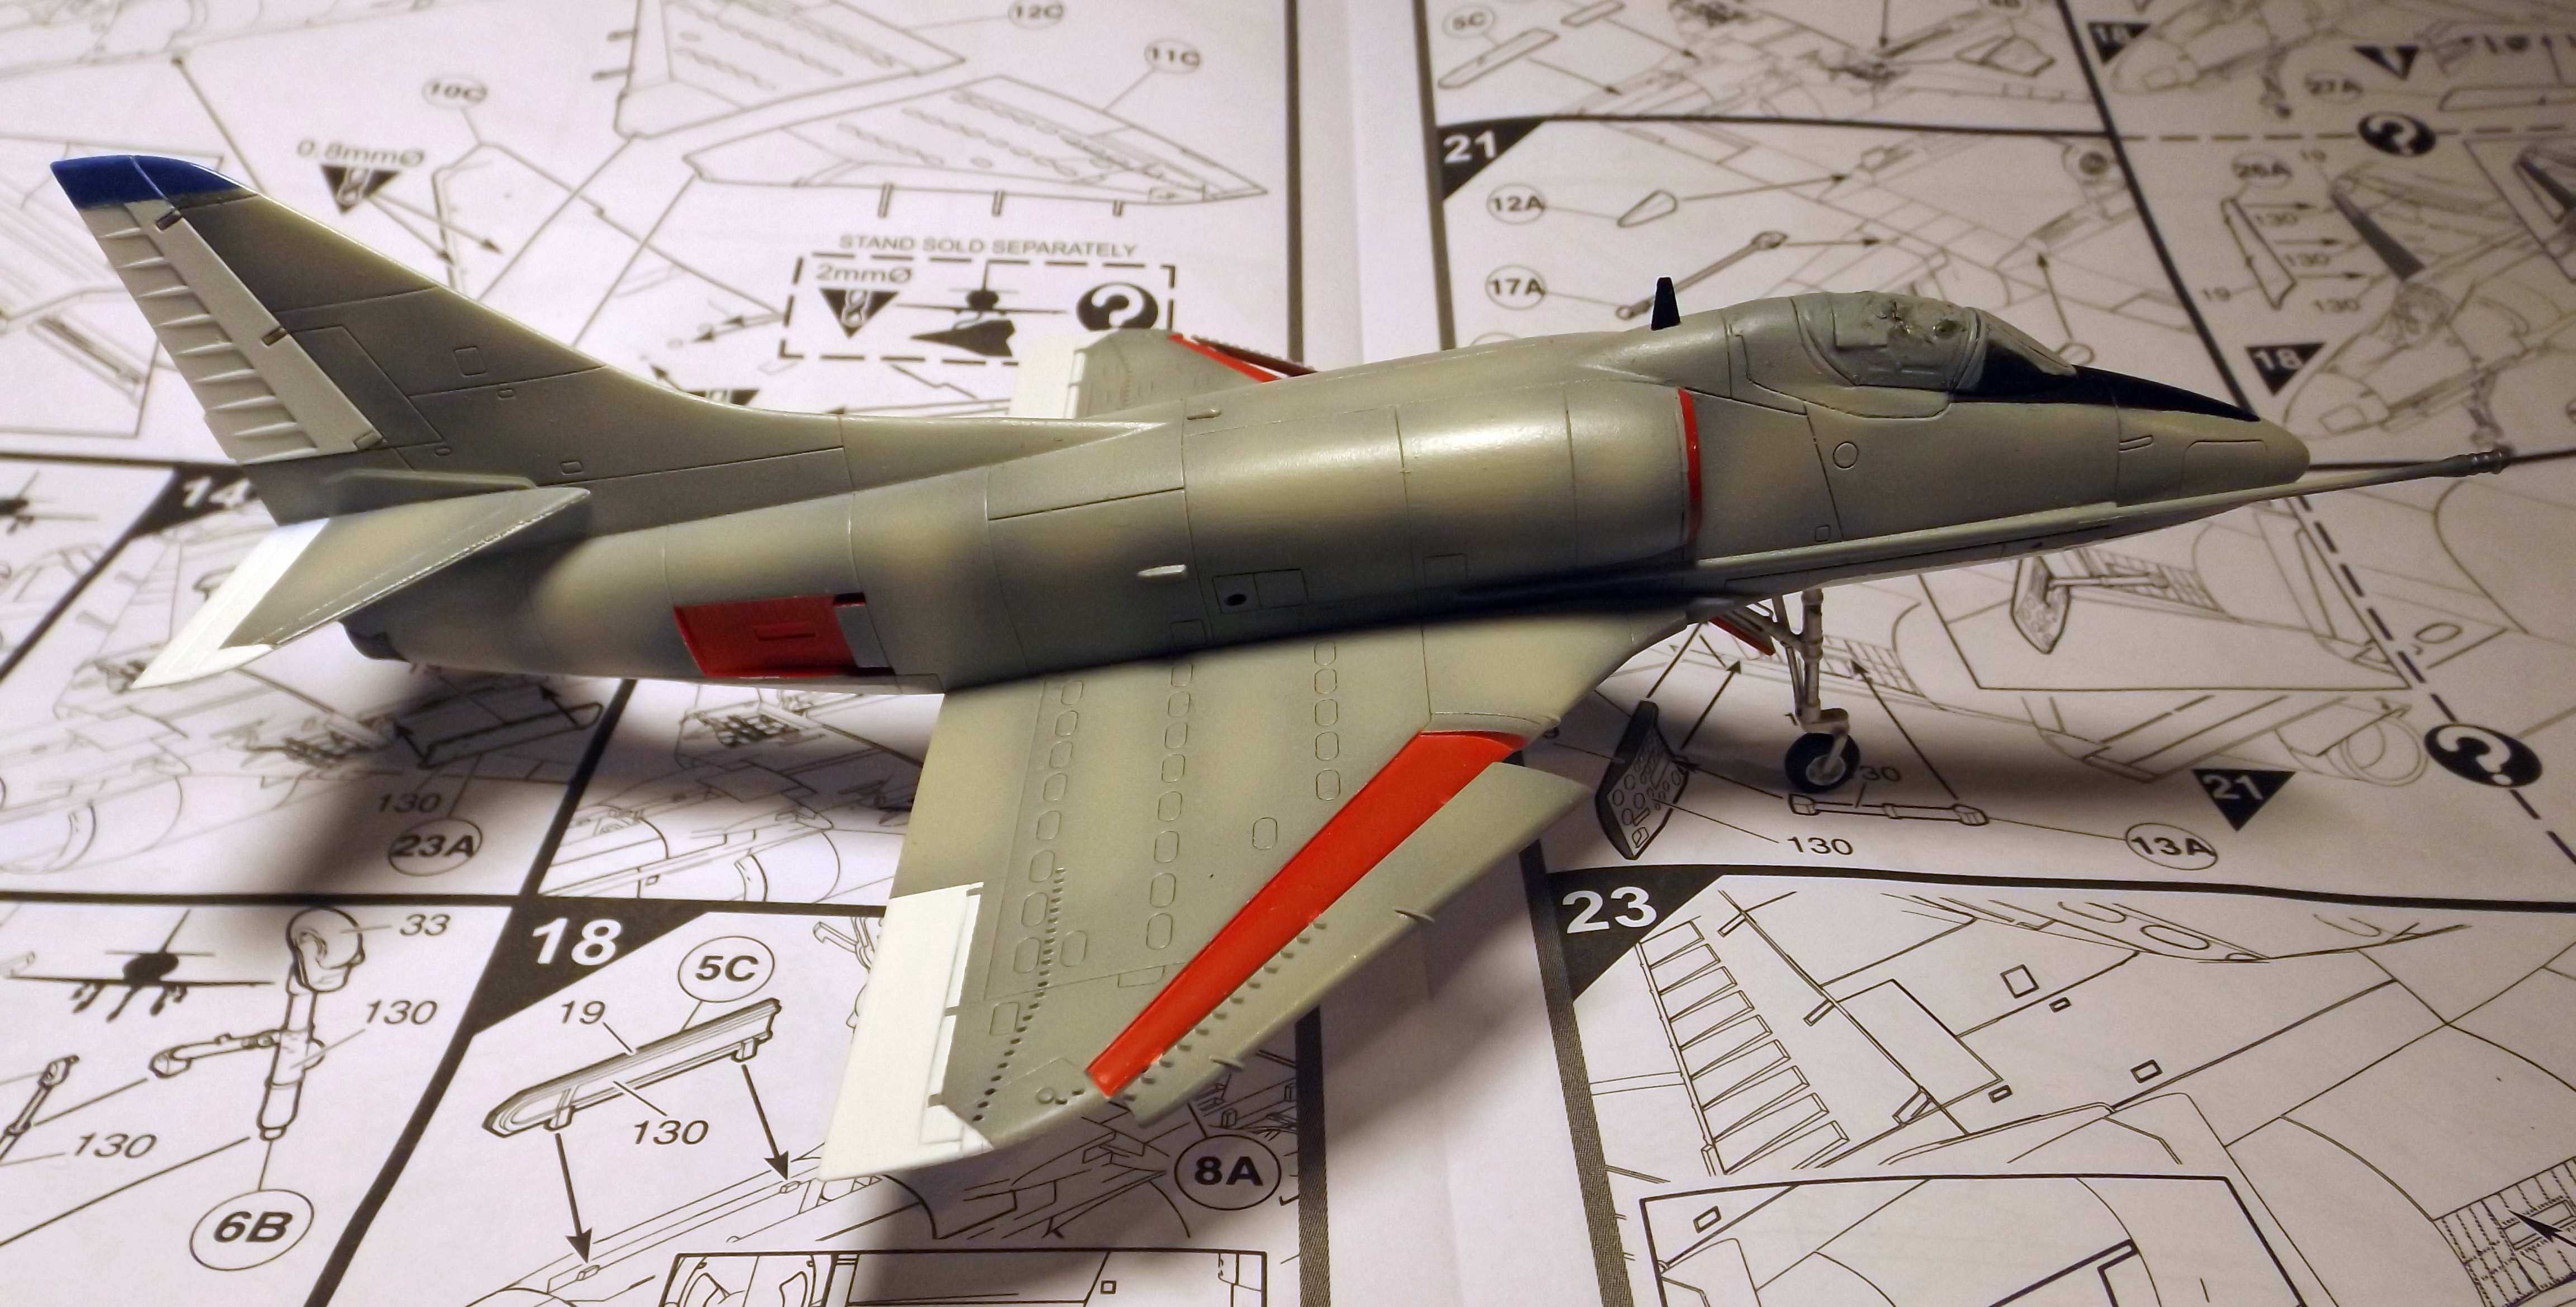
I also painted the remaining model surfaces. The lower ones were spray painted with white Tamiya primer, and the upper surfaces were Humbrol 129 applied over Humbrol 140 preshading. The red surfaces are painted with Humbrol 19:
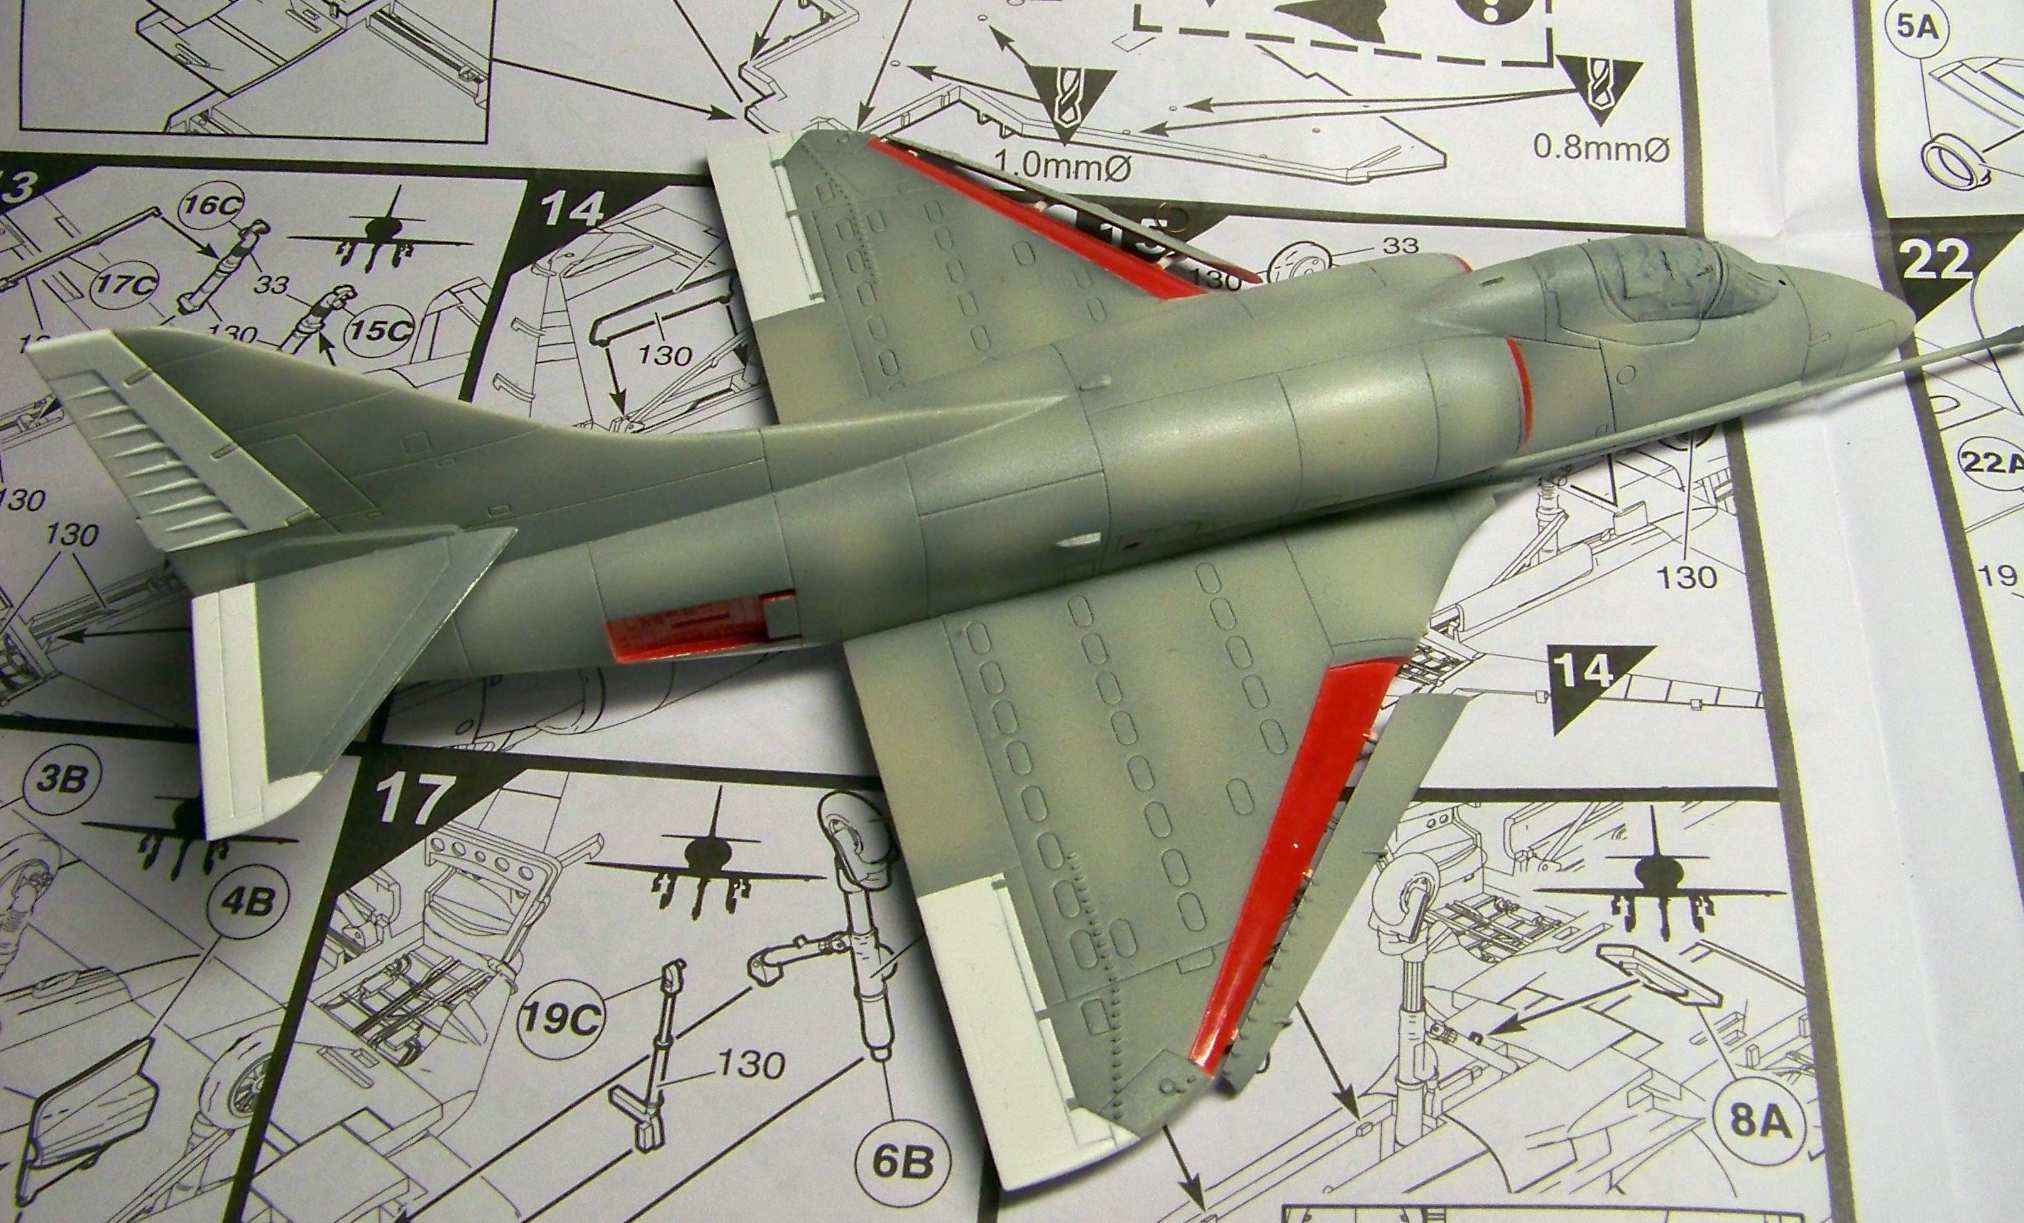
Not long after that I also painted the tip of the vertical stabilizer blue with Humbrol 14:
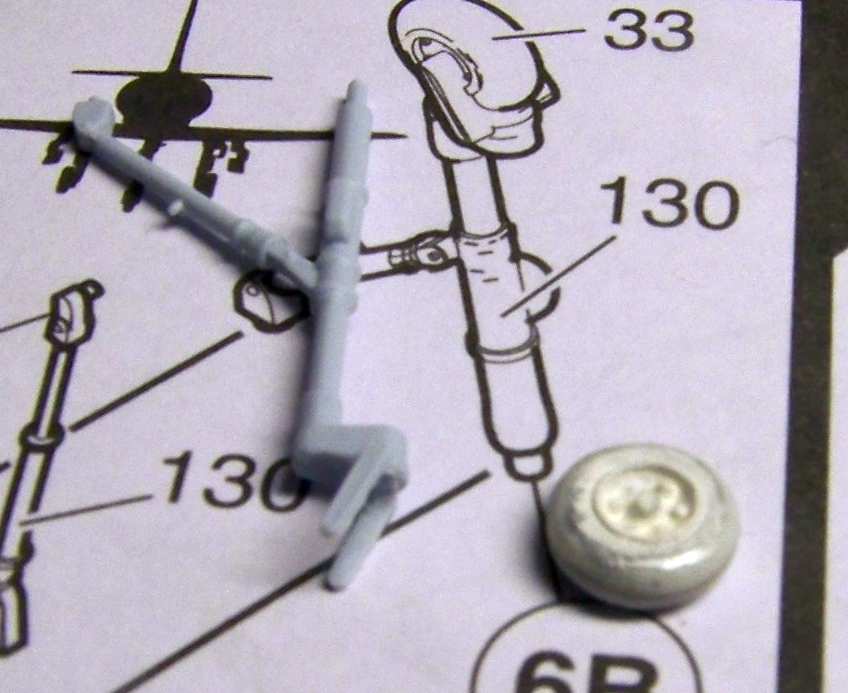
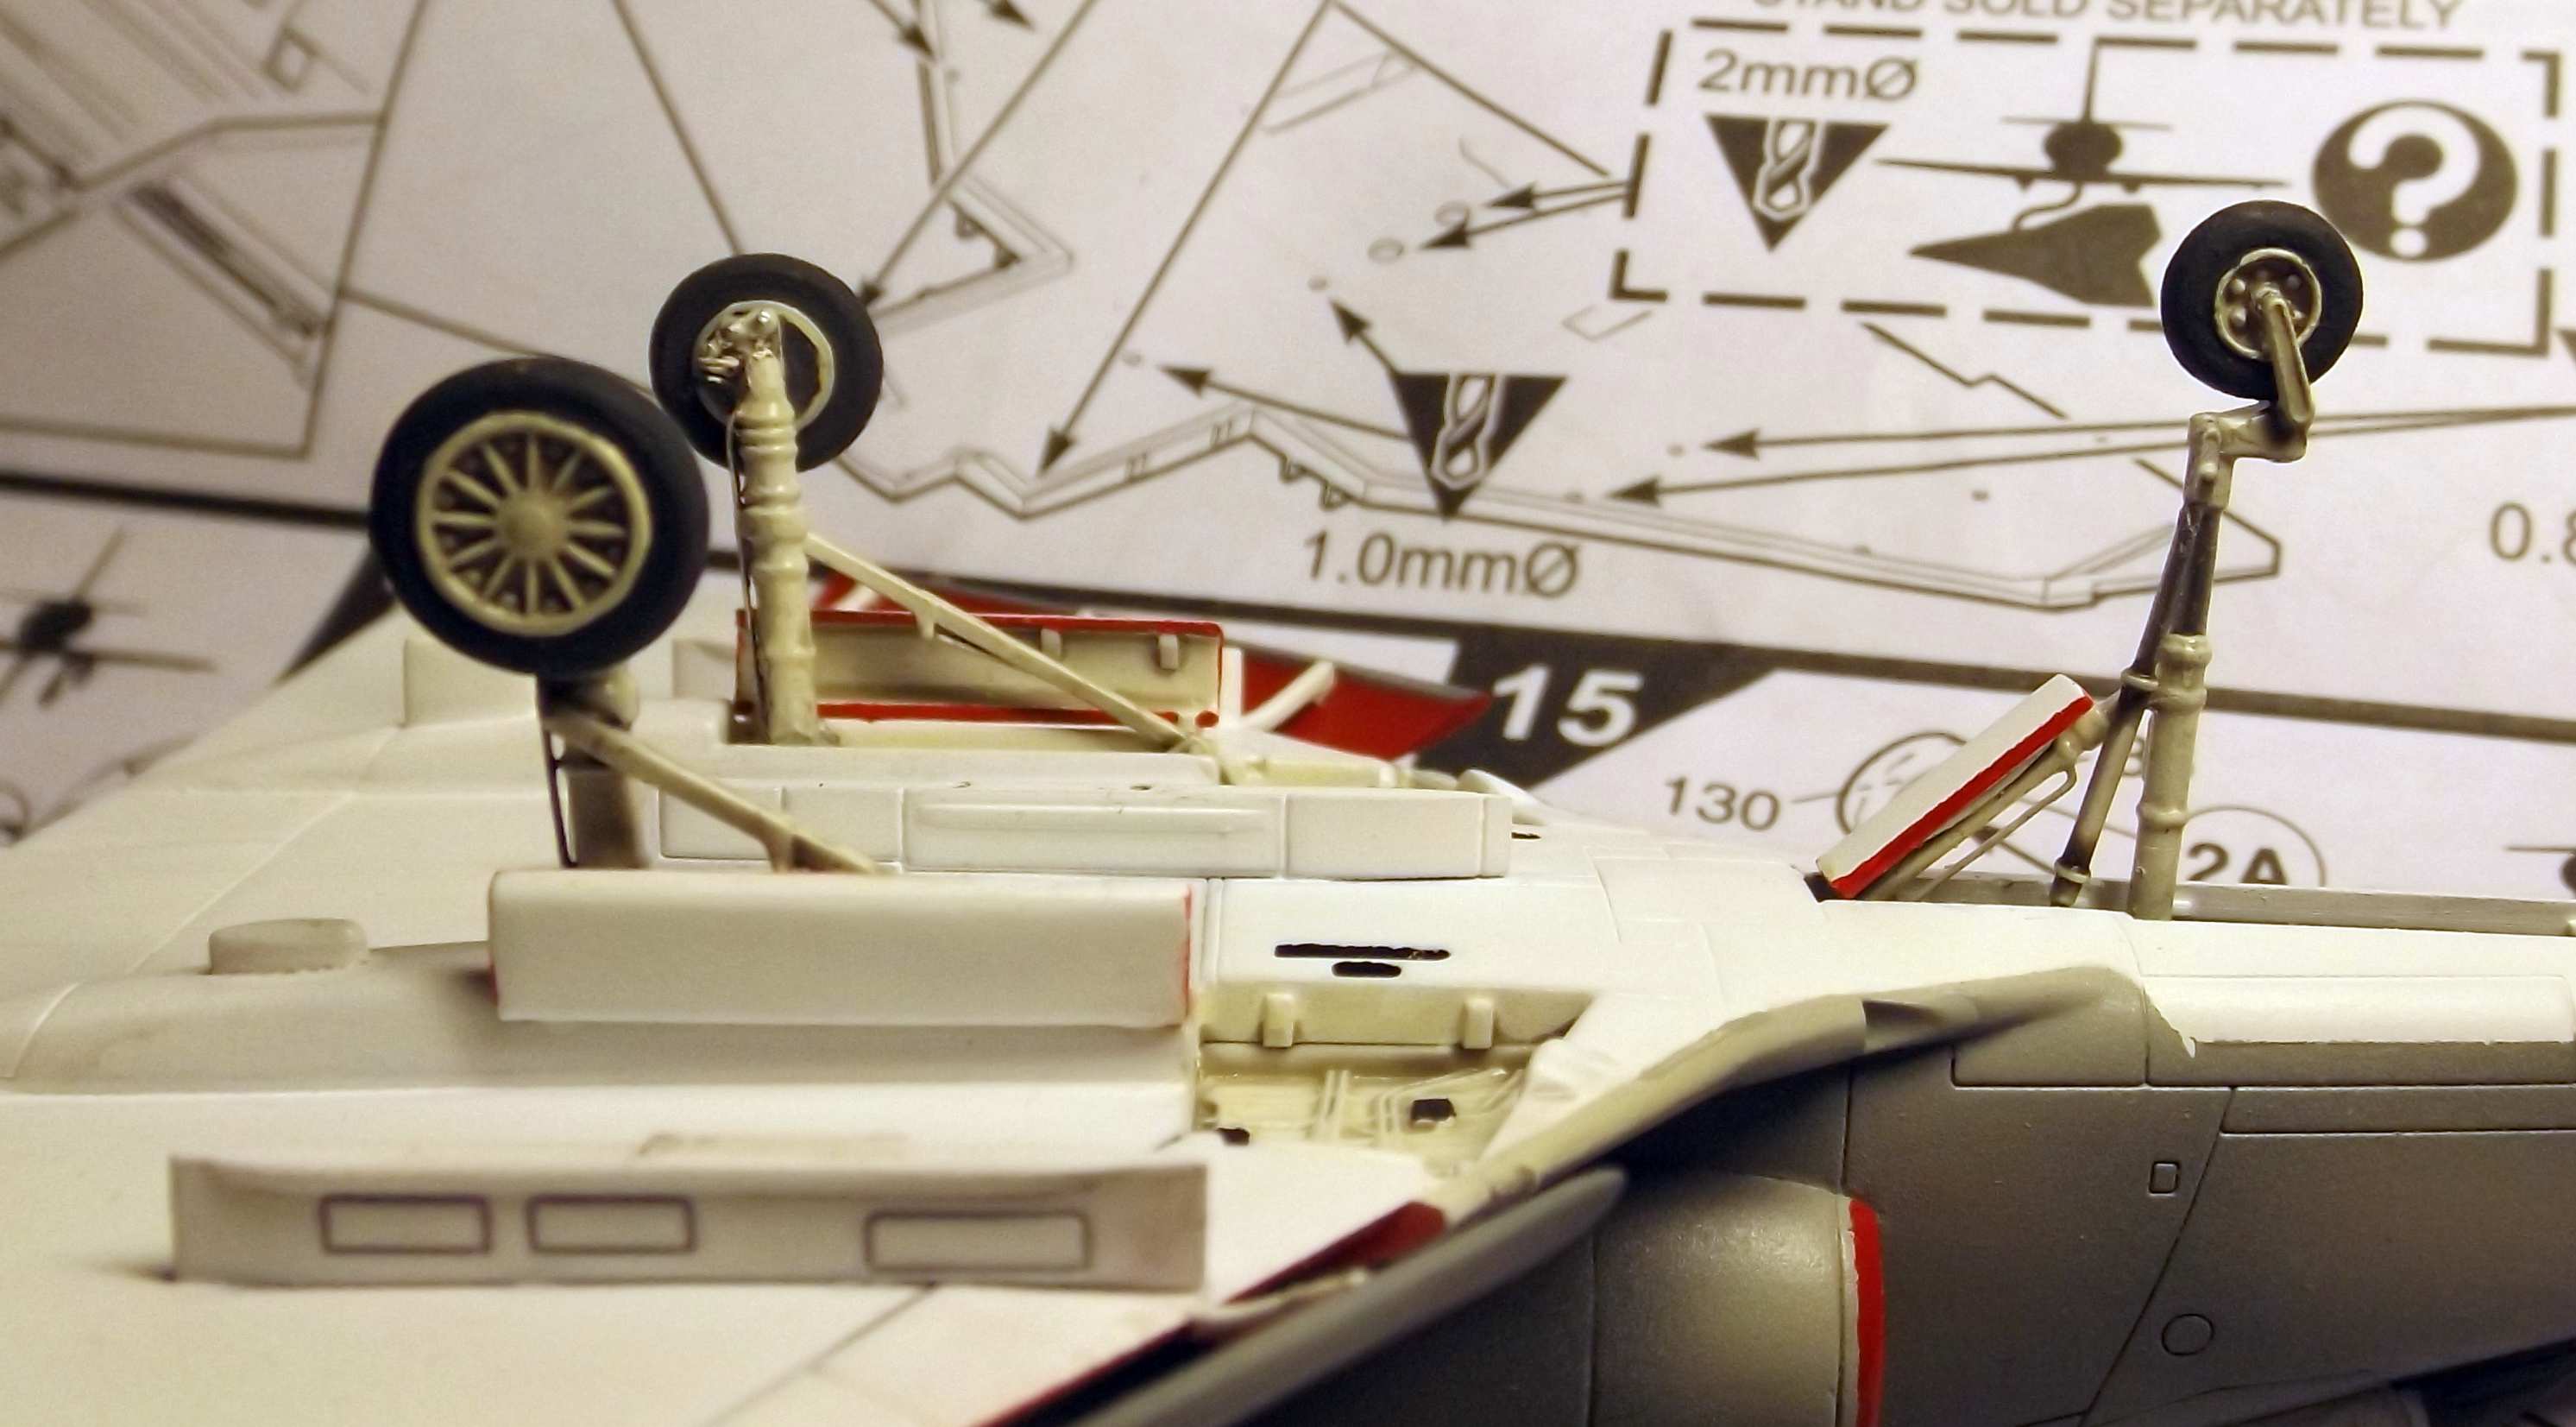
I also continued my work on the landing gear:
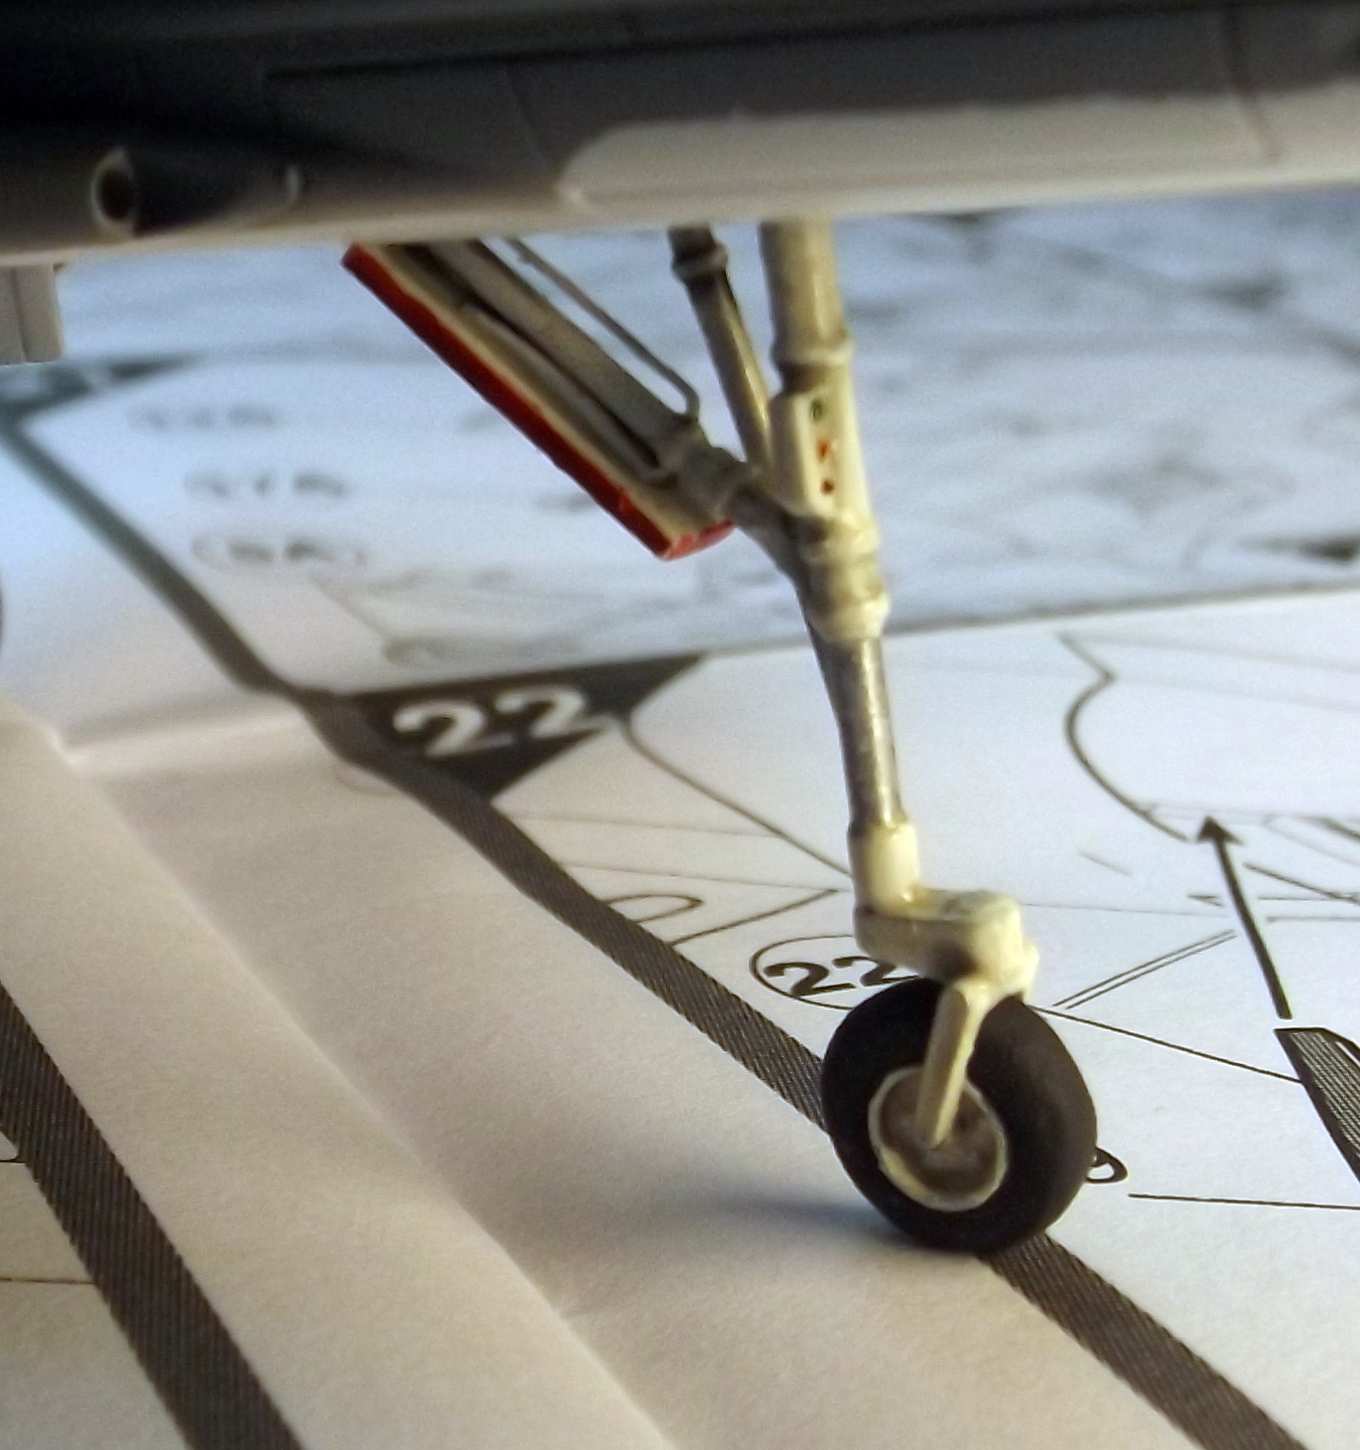
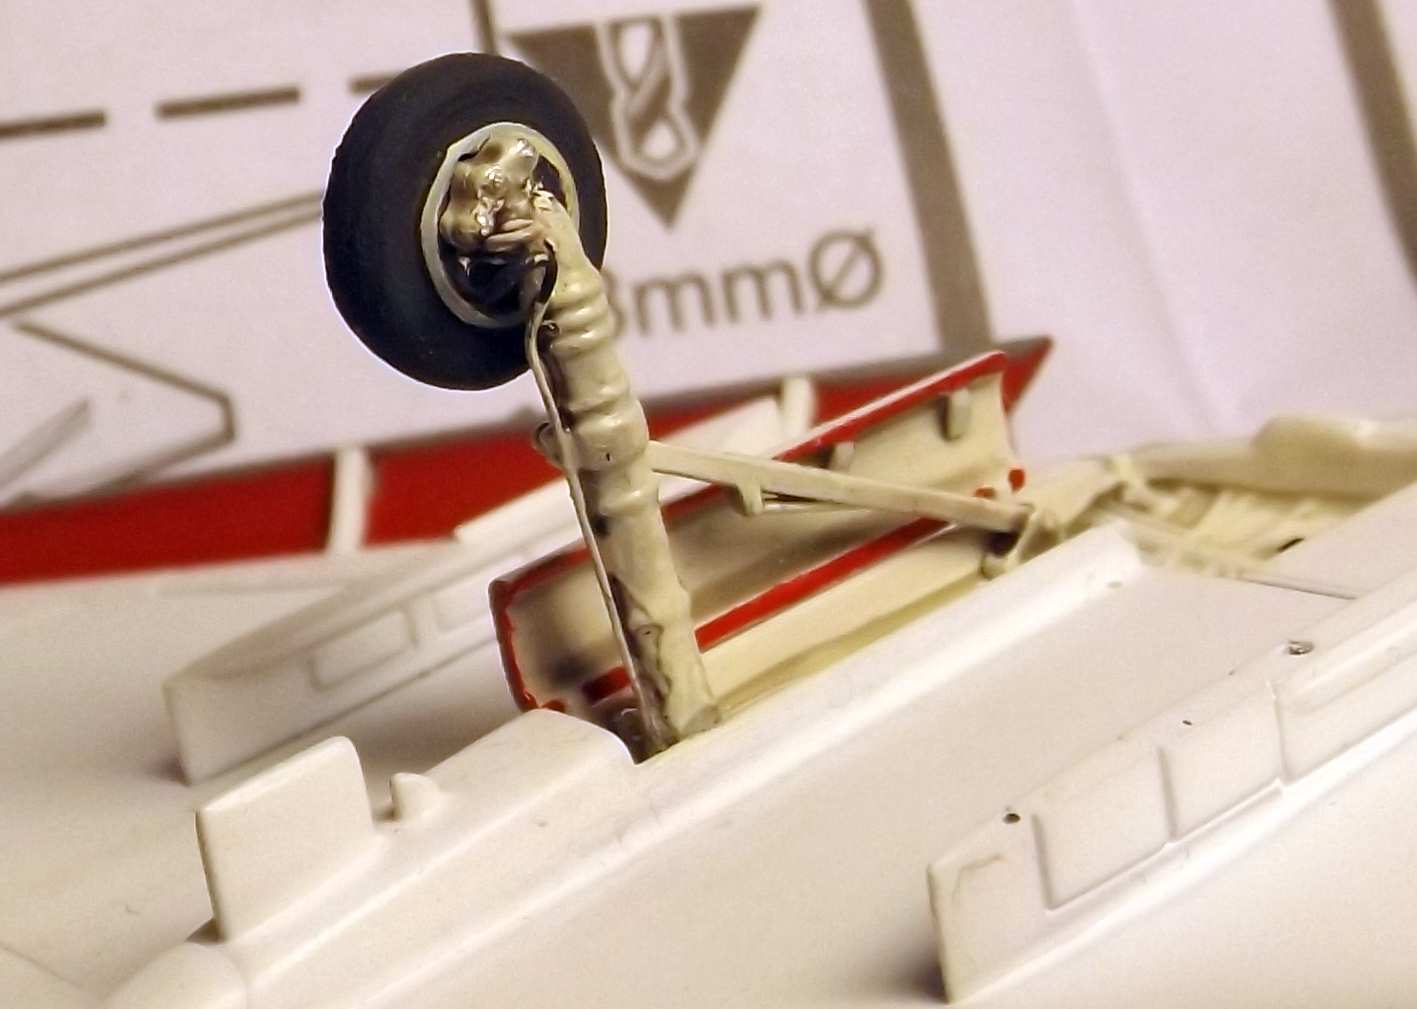
On the struts I added towing eyes and brake lines made out of thin copper wire:
Right after that was done I started putting the decals on. I started by coating the model with a thin layer of Future, then I tackled the first two, most difficult markings – the national stars on top of the left wing and on the right side of the fuselage front. As I was expecting trouble here I took the national stars from the Xtradecal X72112 sheet (to have a spare in case of a failure). The star on the wing comes right on top of a row of vortex generators, so I had to use a generous amount of solvents here. As it turned out, the cooperation of MicroSet, MicroSol and Solvaset applied every few minutes for almost two hours allowed the decal to “float” into the recesses around the detail on the wing. I used a different approach for the front star around the in-flight refueling receptacle – here I went for a jigsaw-puzzle like mixture of parts from two differently sized national stars – the effect is quite encouraging. I’d like to stress at this point, that the national stars I used were larger than the ones found on the X72151 – it was done used because the larger stars closer resemble what can be seen in the references.
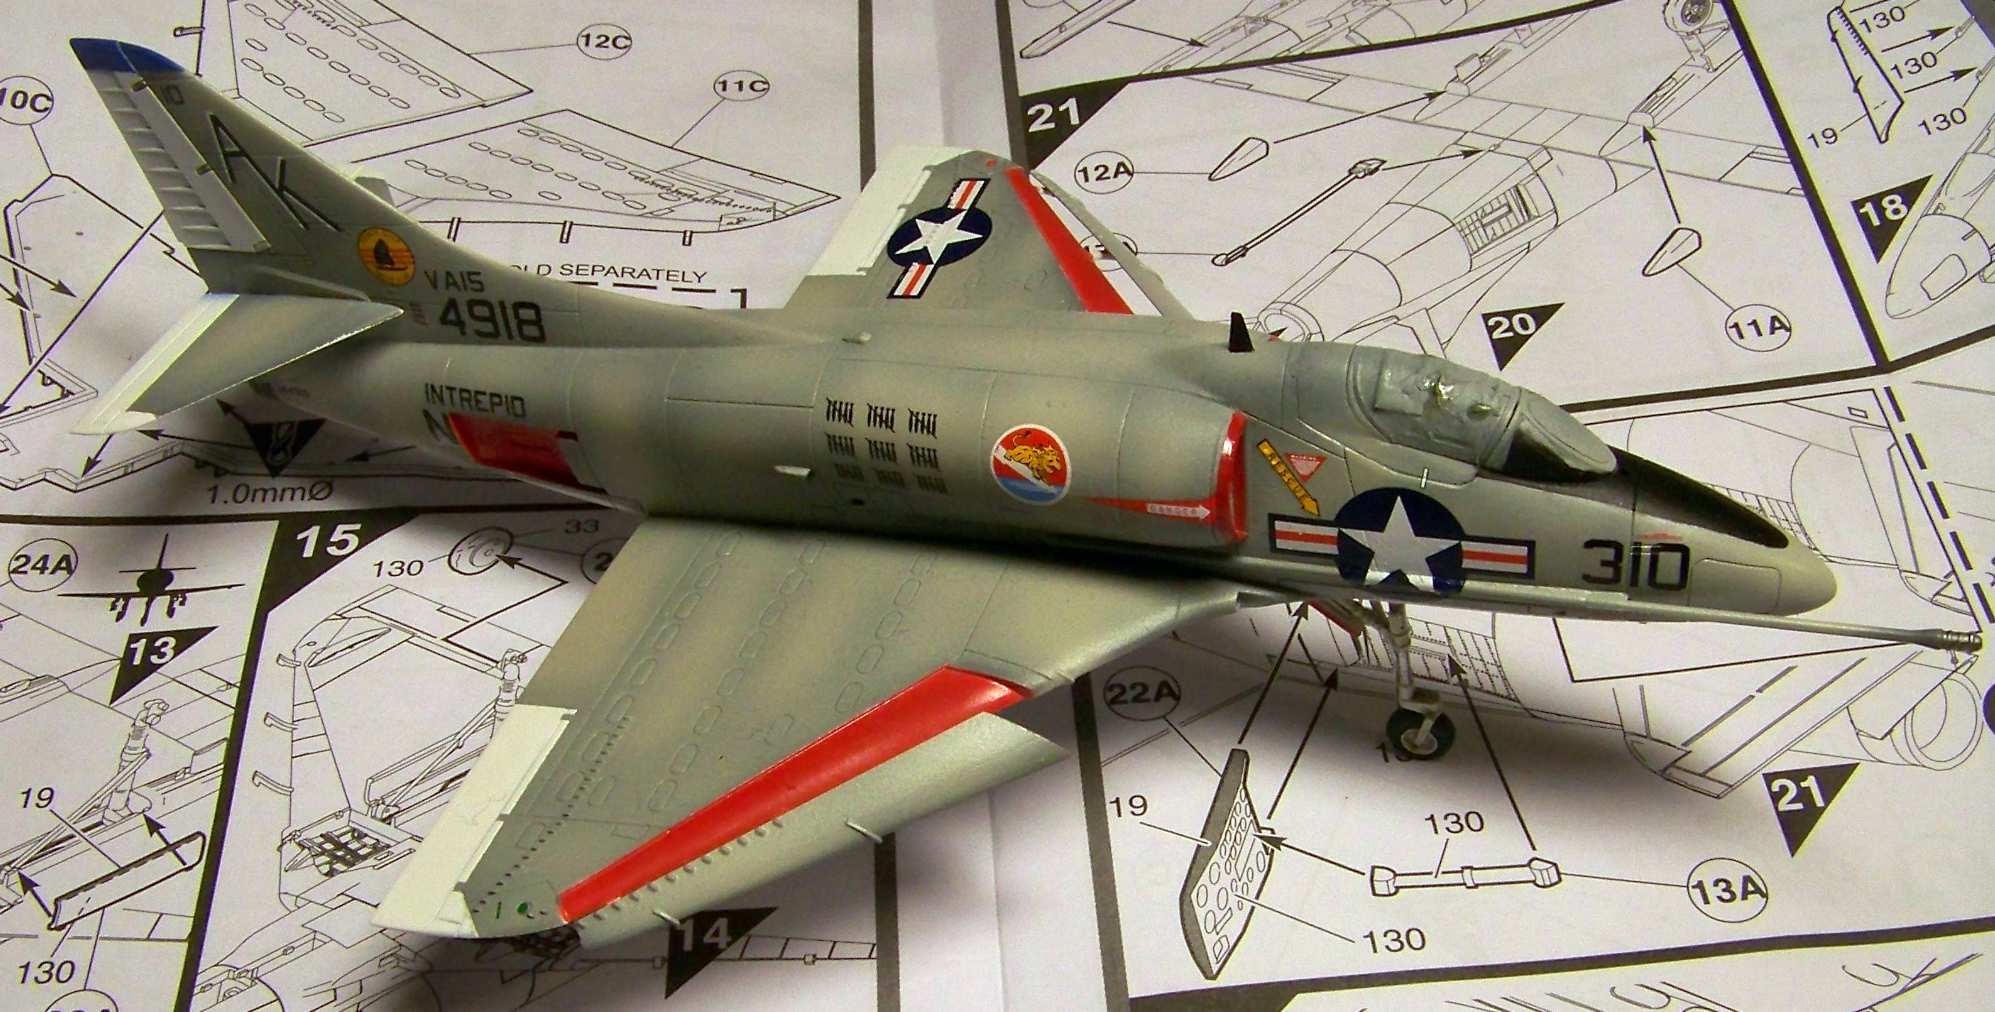
I put on the remainder of the markings without further problems, but some smaller markings were taken from the kit’s decals. The markings with the pilot’s name should be present on both sides of the hull whereas the Xtradecal sheet only has one, so I designed my own, and after my design was printed by a small company by the name of Melius Manu I could apply correct markings to my model:
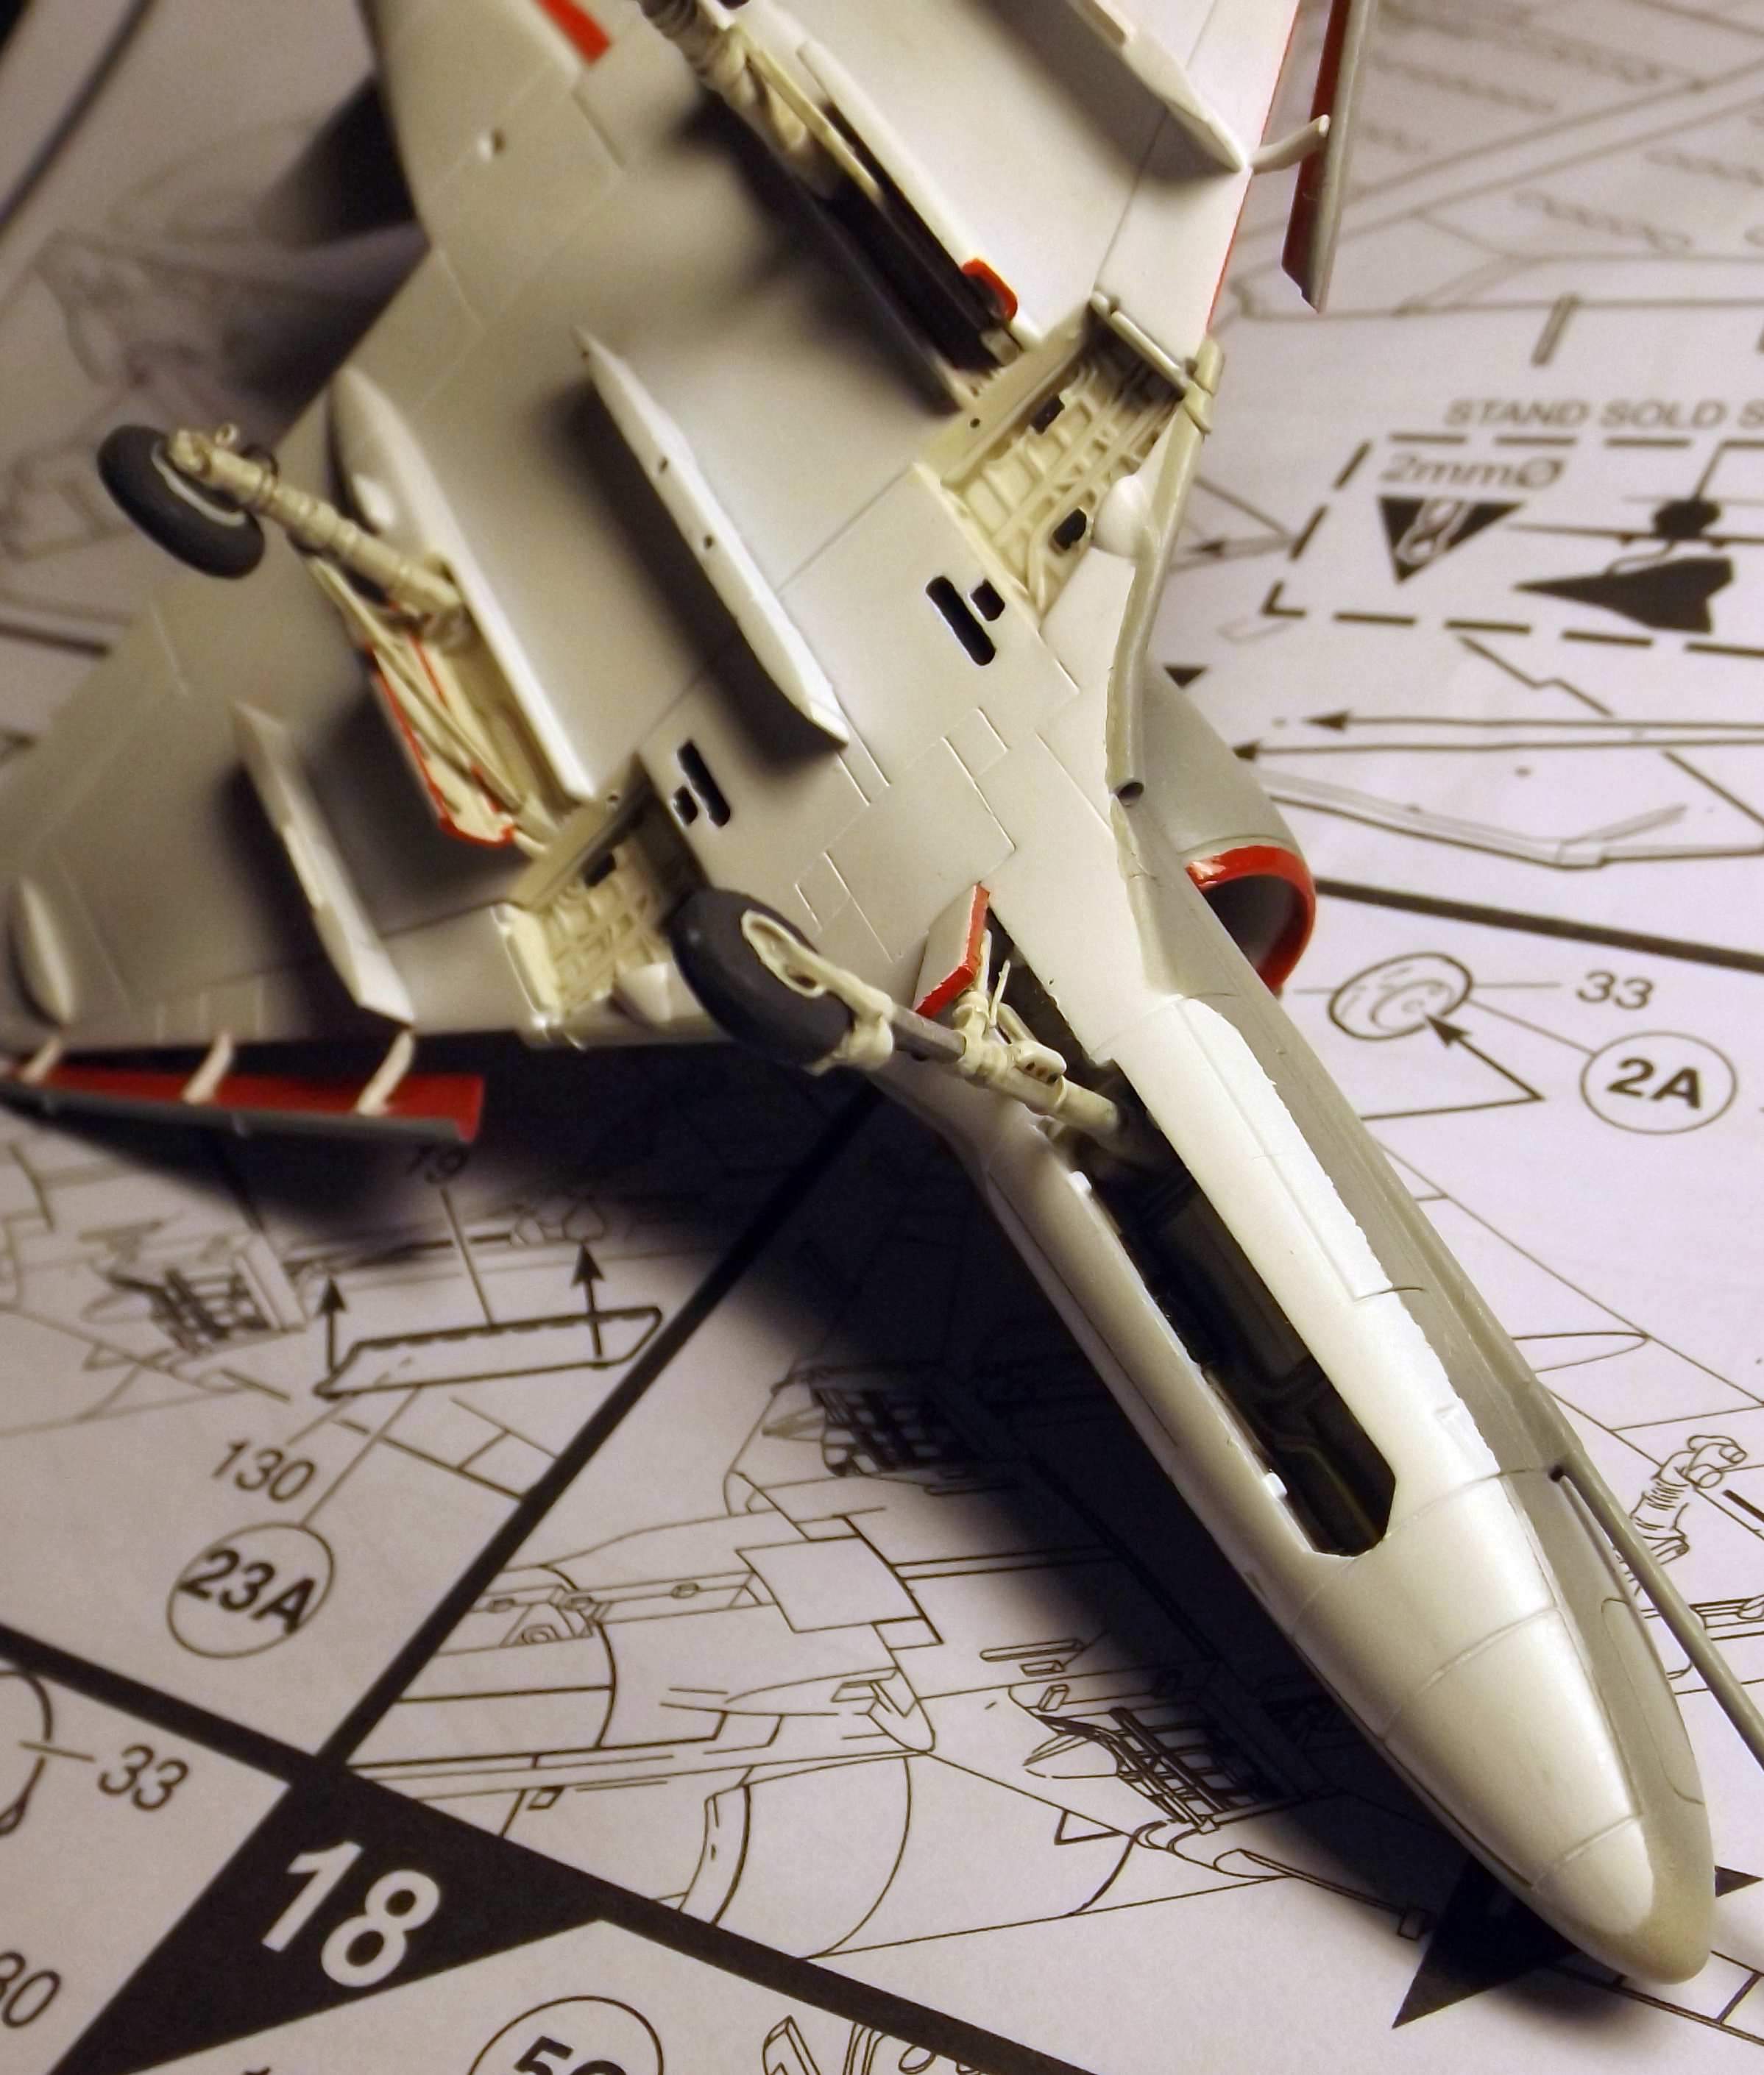
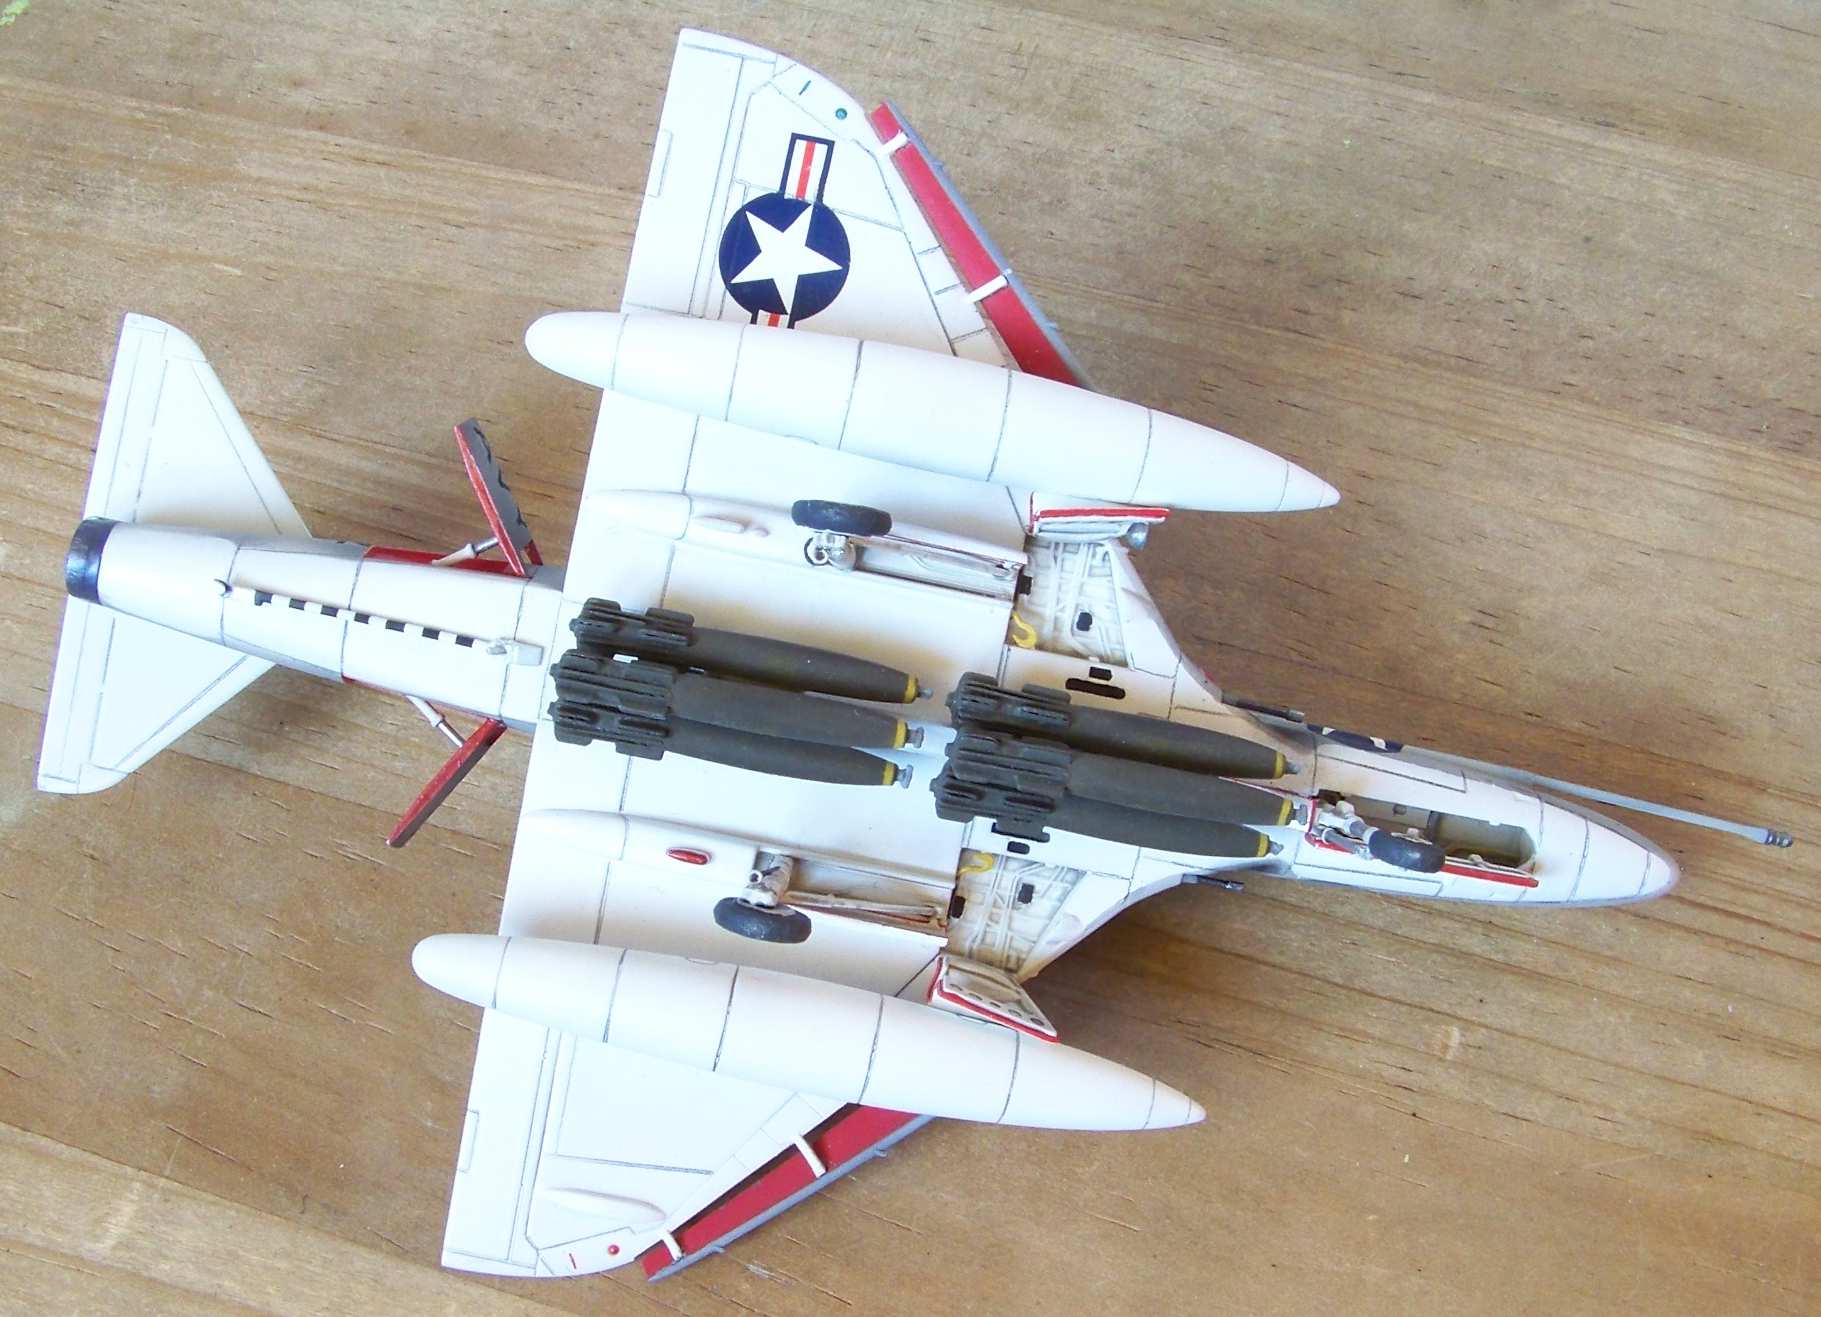
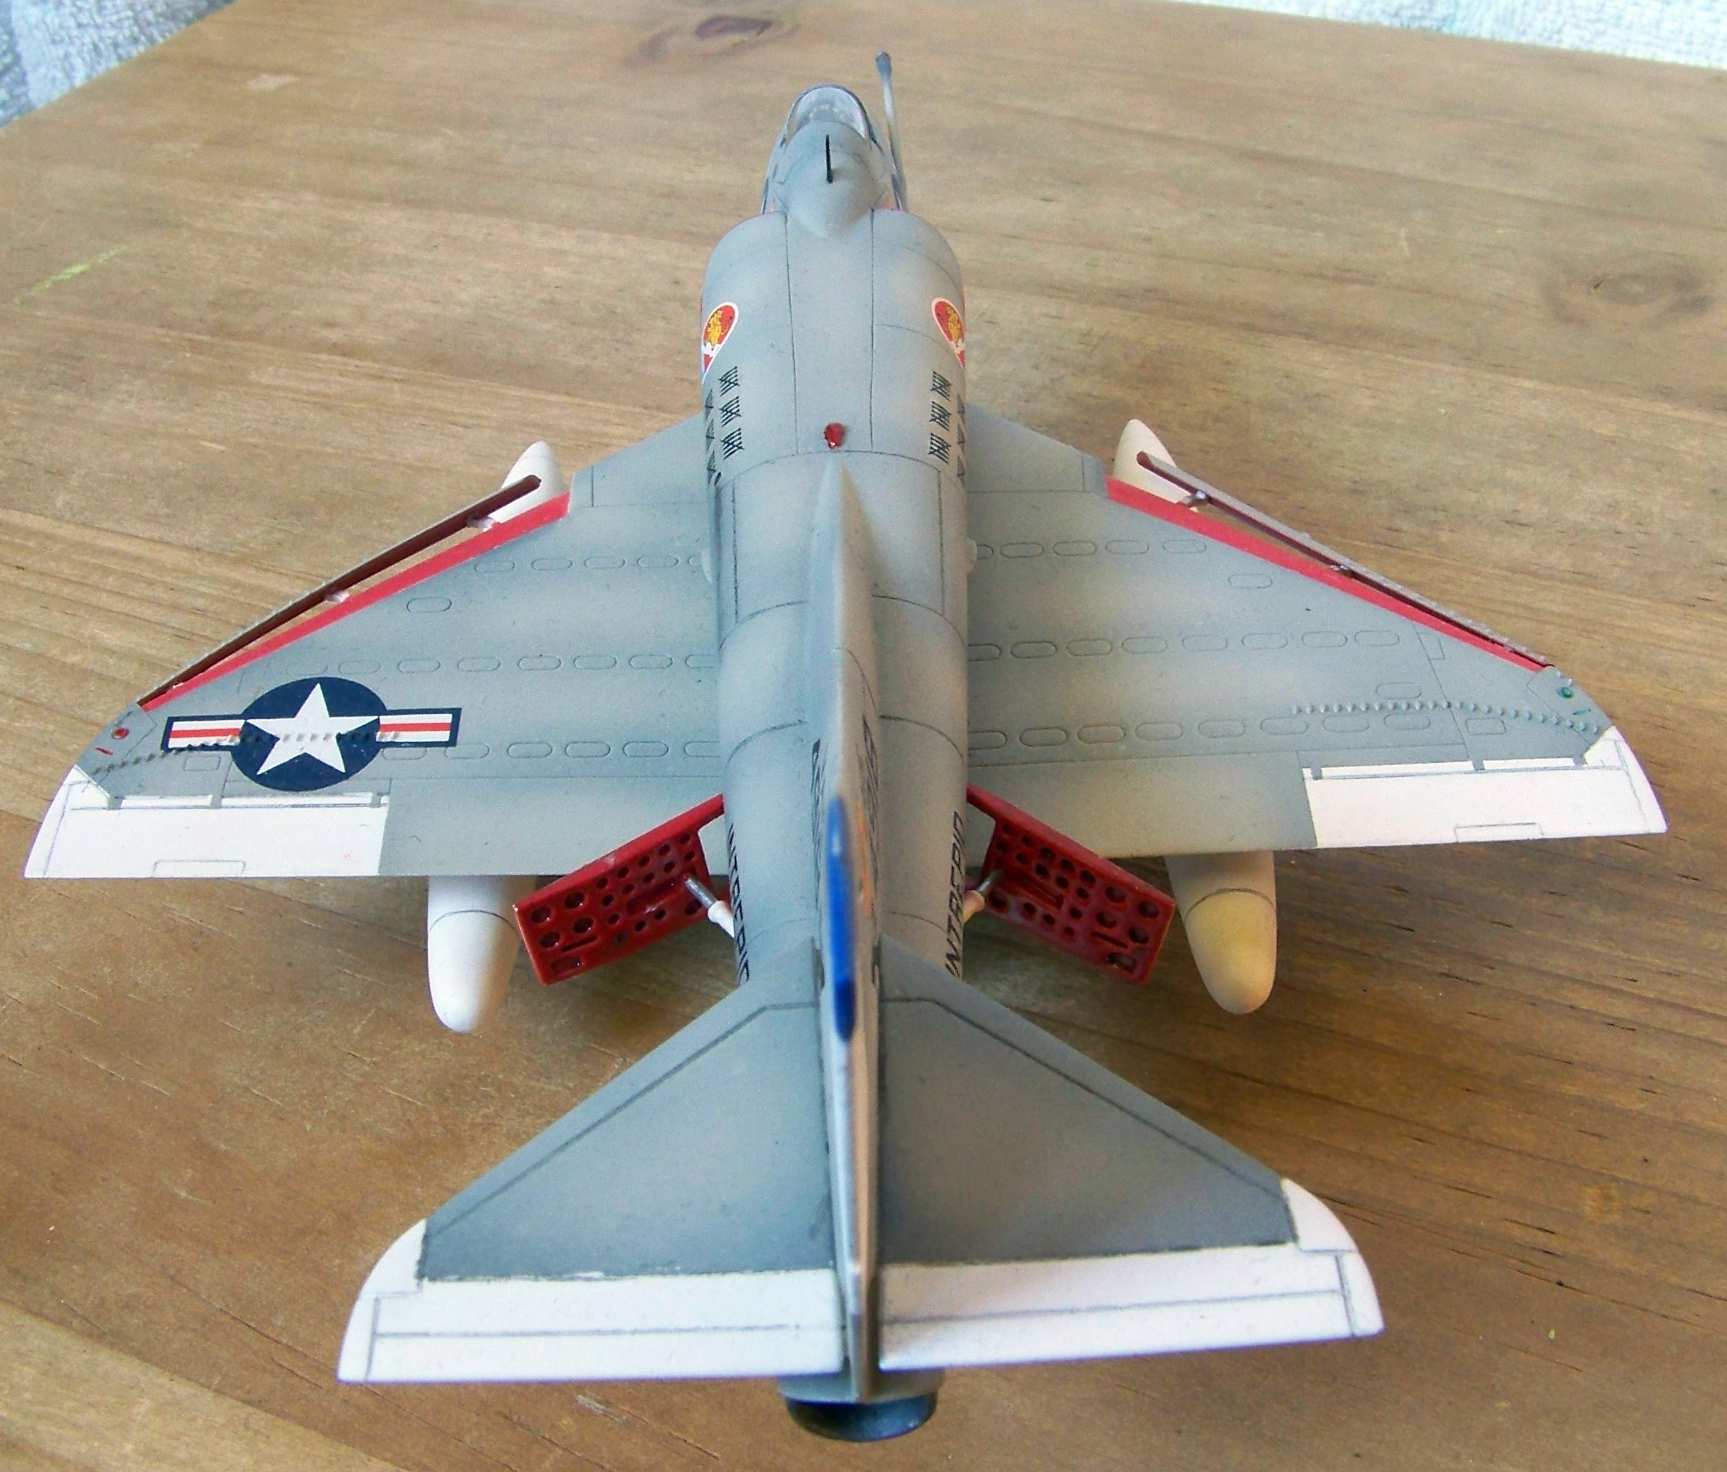
After sealing the decals with one more layer of future I sprayed some Humbrol 135 satin clear on and that helped to blend the decals in very nicely. I also complemented the carrier landing gear of my “Scooter” – I installed the arresting hook detailed with a holdback fitting, put on the speed brakes “boards” and inside the landing gear bays I also installed the catapult bridle hooks that were unfortunately missing from the kit:
The stores constituted a separate portion of work. Resin fuel tanks, the MER rack and six Mk. 82 “Snakeye” bombs can be seen on the photo below:
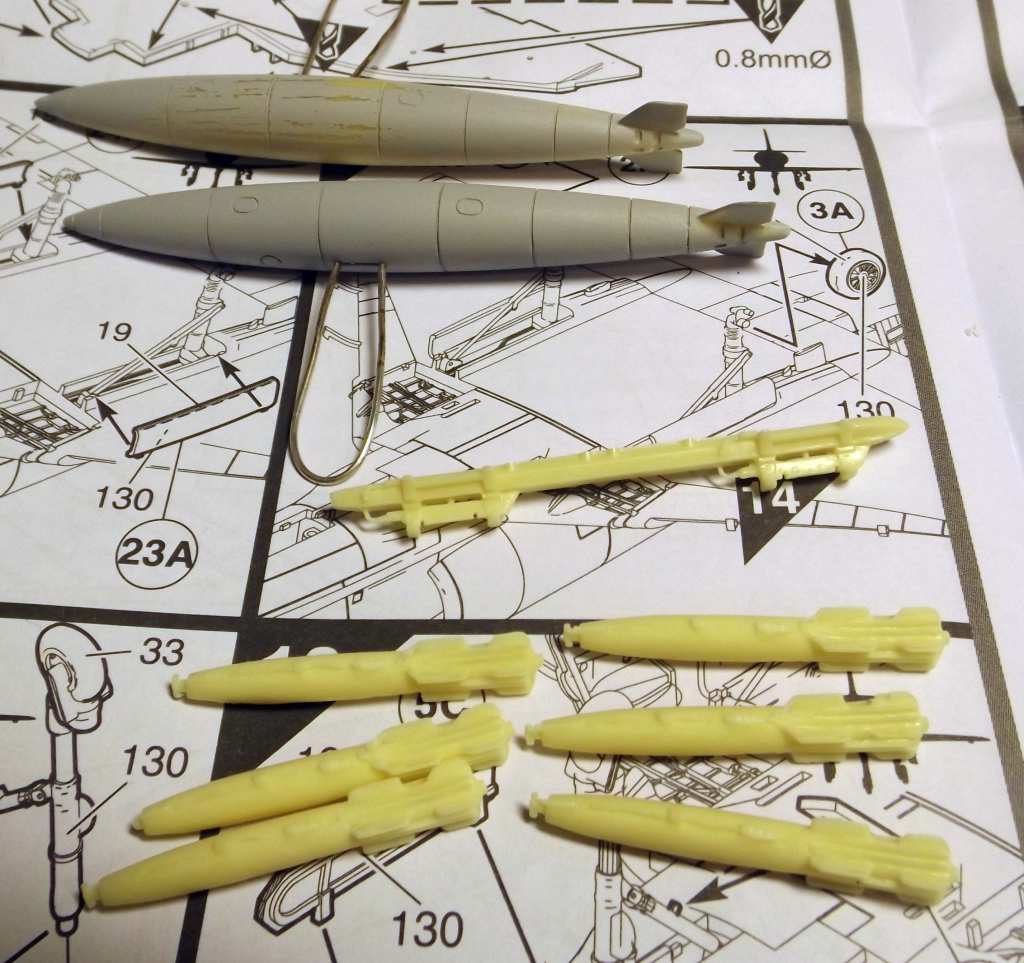
The bombs were painted using the following method: After removing the casting imperfections and priming the bombs, their forward portions were painted yellow. When the paint was dry, the bombs were placed in holes of appropriate diameter cut in small portions of bicycle tube, then painted olive green – Humbrol 155. After taking the rubber masks off the nice, yellow rings can be seen.
Careful analysis of the photos showing VA-15’s aircraft during 1966 and 1967 showed, that they used short-tailed, fin-less drop tanks – different than the ones that I had from the Freightdog’s kit 72024. Other kit from the same company – 72025 – could be used instead, but I decided to convert what I had. I cut off the tailcones from my drop tanks and glued chunks of styrene in their place. After sanding them to shape and painting, the drop tanks look good.
In closing I’d like to add, that I had lots of fun with this model and it encouraged me to build it once again, maybe to do a different version of the aircraft, like the A-4C variant.
